Sewing Necklace

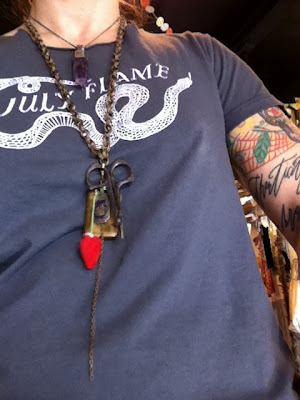
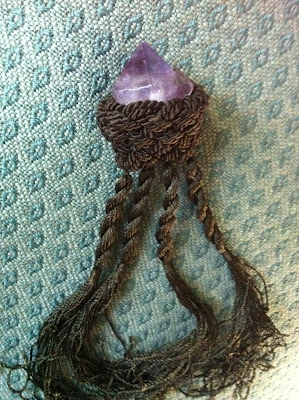
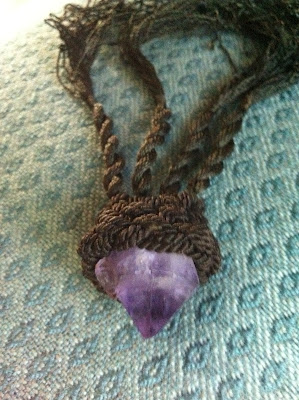
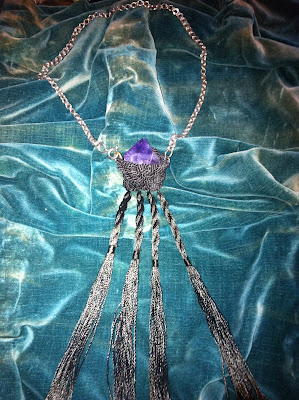
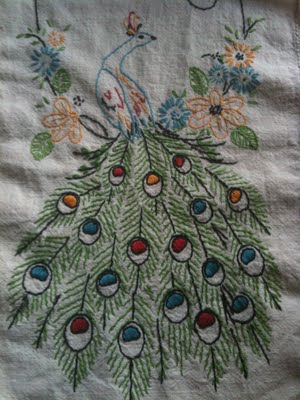
i made another necklace out of vintage "fixins and findins" that is "supposed" to be for sale.
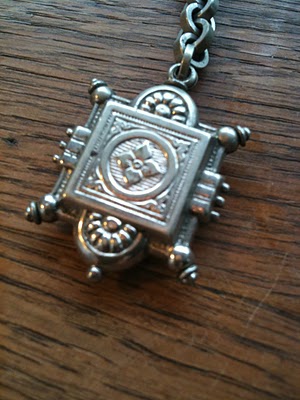
i should have never added the CEW charm to it.
i "suppose" it's mine to keep now....
when will i ever be able to let these things go?!
note to self: stop attaching personal items to treasures you want to be able to let go of and sell...
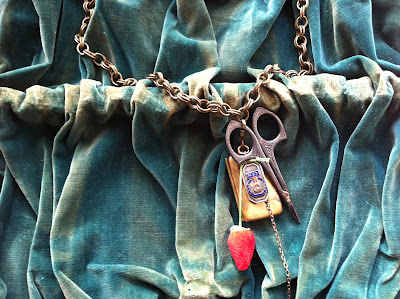
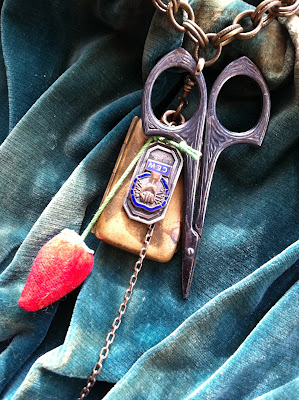
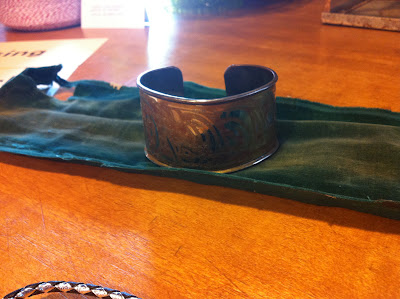
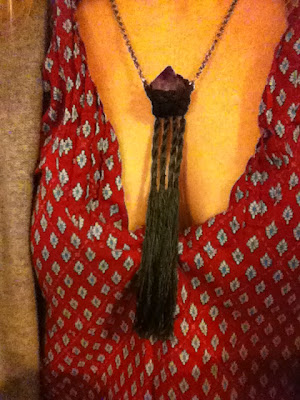
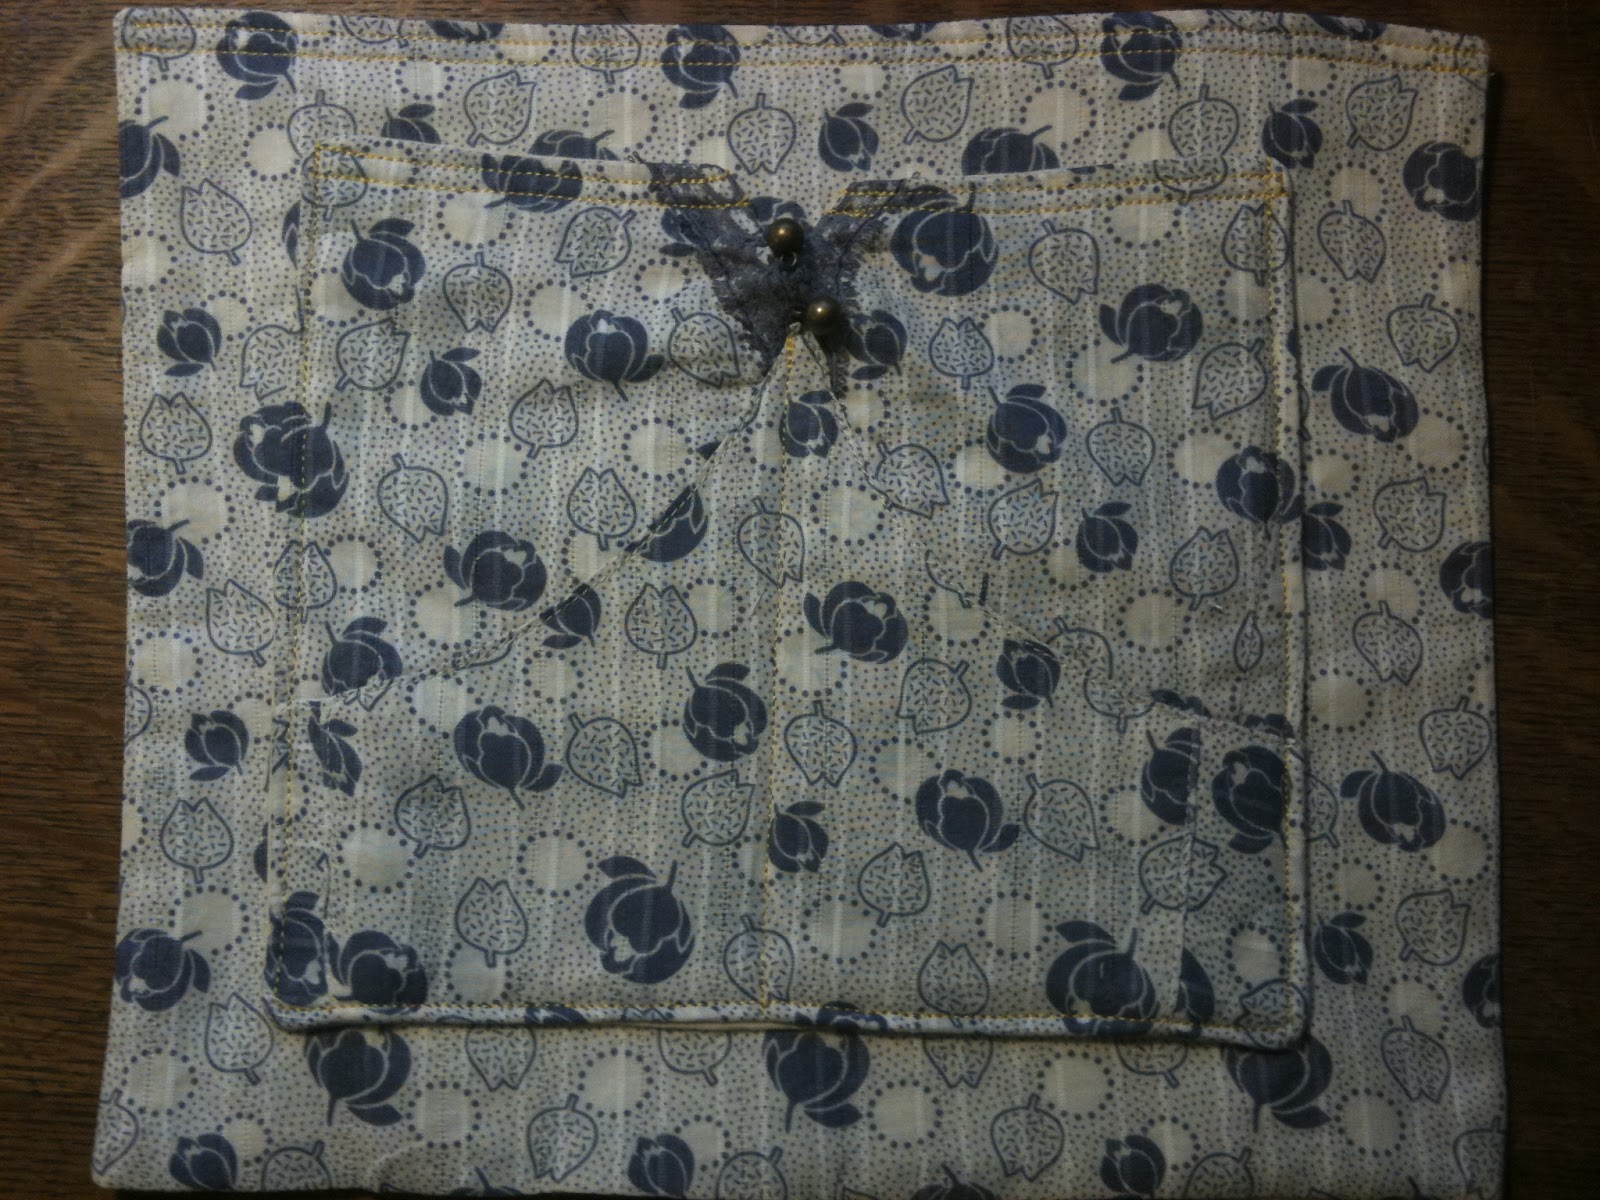
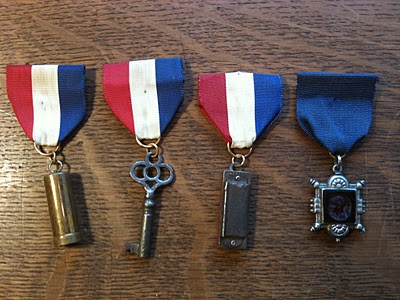
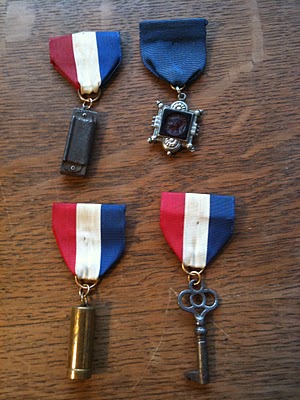
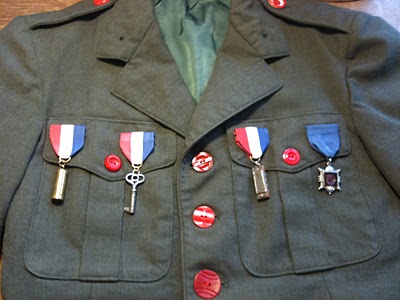
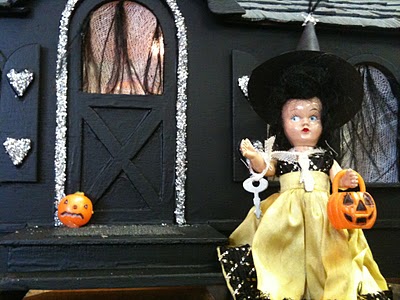
the "sewing necklace" is all you need to do your mending on the run!
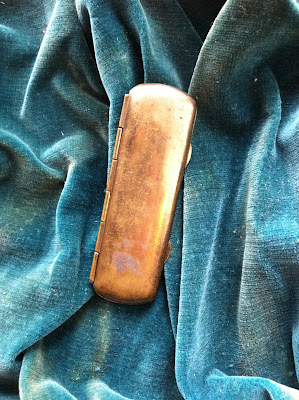
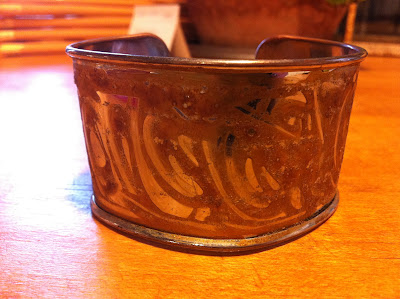
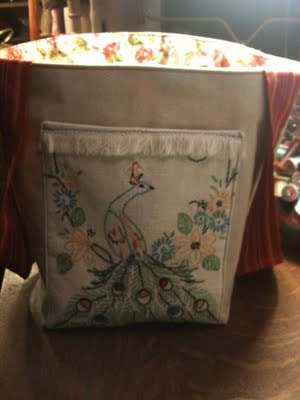
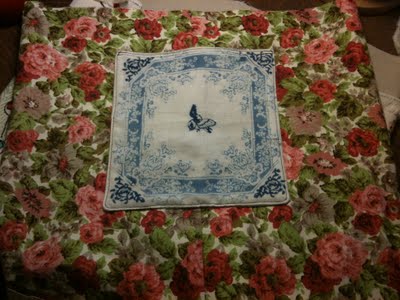
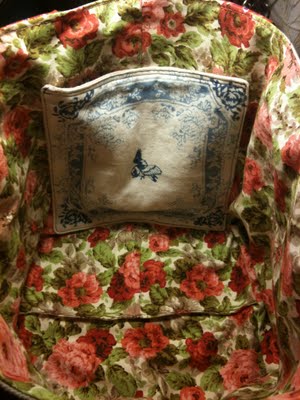
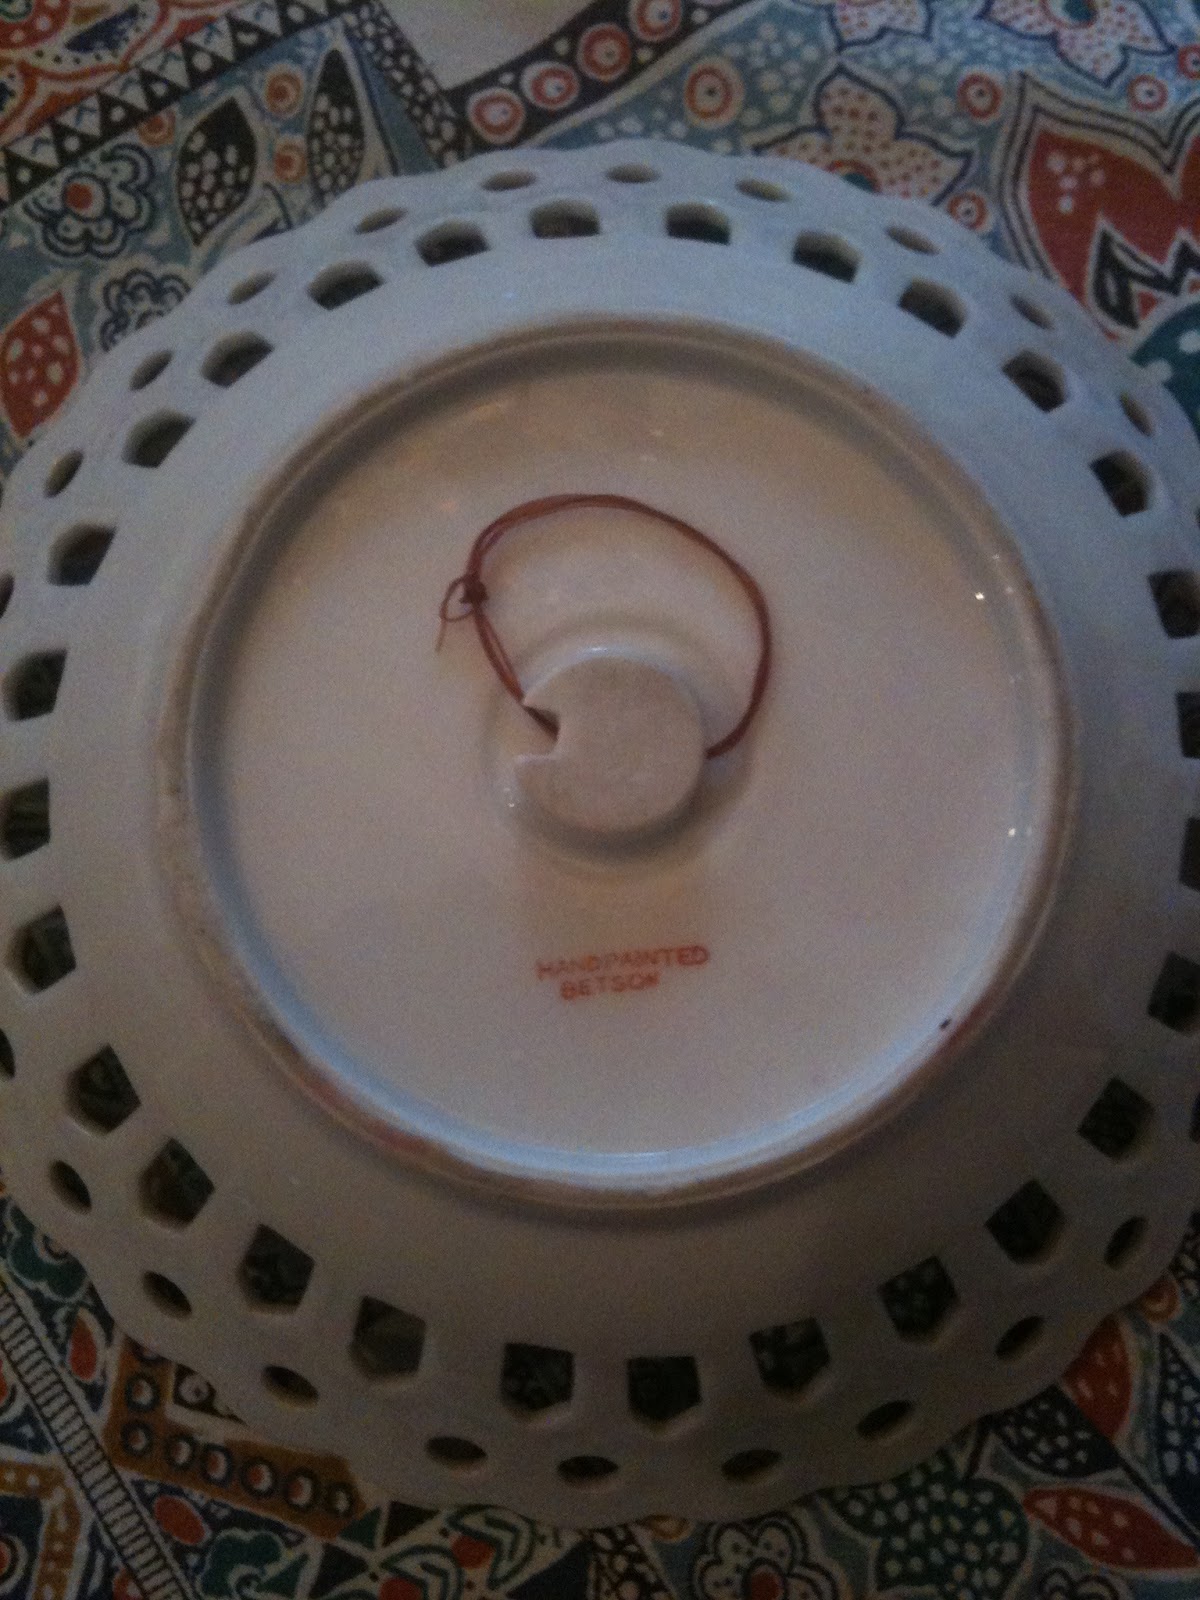
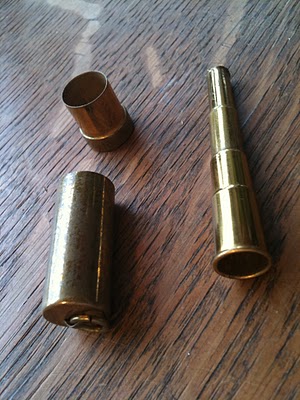
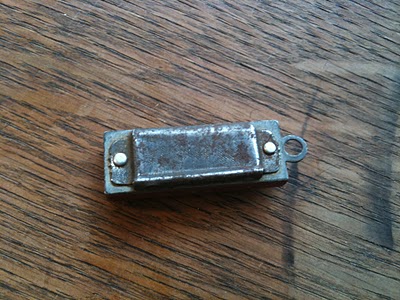
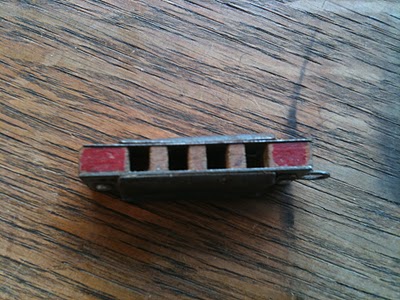
do you remember this sweet little needle/pin case i found at cargo in pdx?
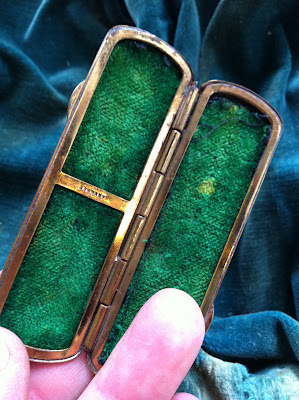
the one that doesn't have a loop for attaching...
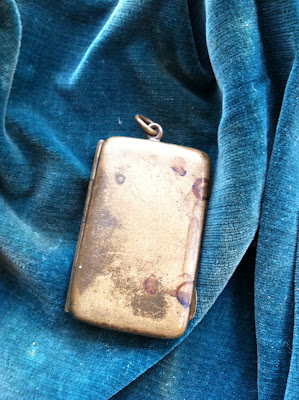
well i found another!
lucky me!
with a loop!
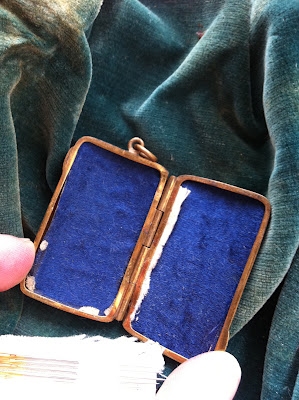
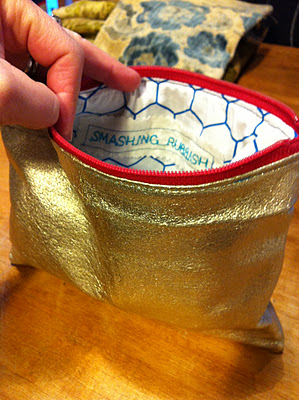
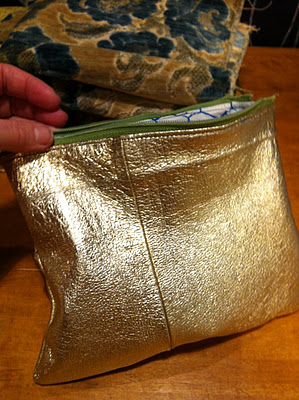
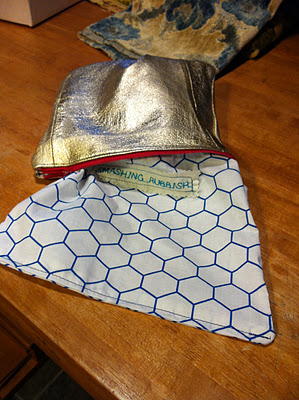
this one, which is more square, and less rectangular, was scored from my friends Dan and Cindy when they had a space in the antique mall next to Smashing Rubbish.
and it was on sale! 
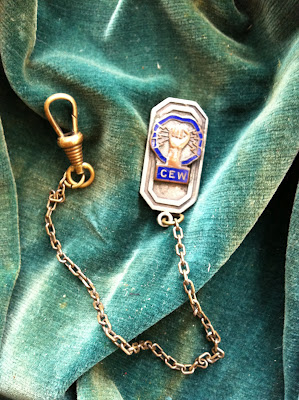
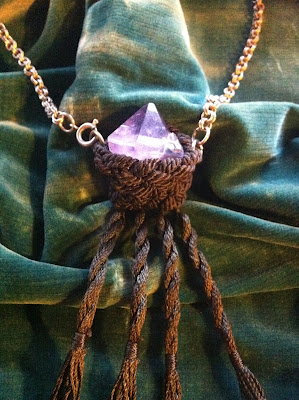
this lovely little CEW charm is added in fun and really has no useful purpose other than to remind me i love my husband, CEW!
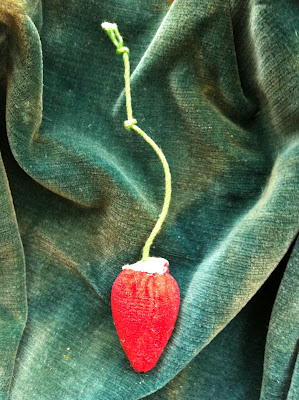
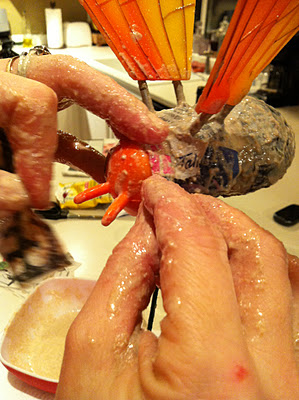
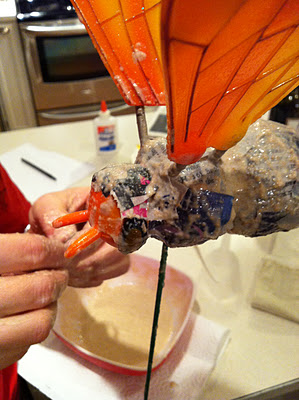
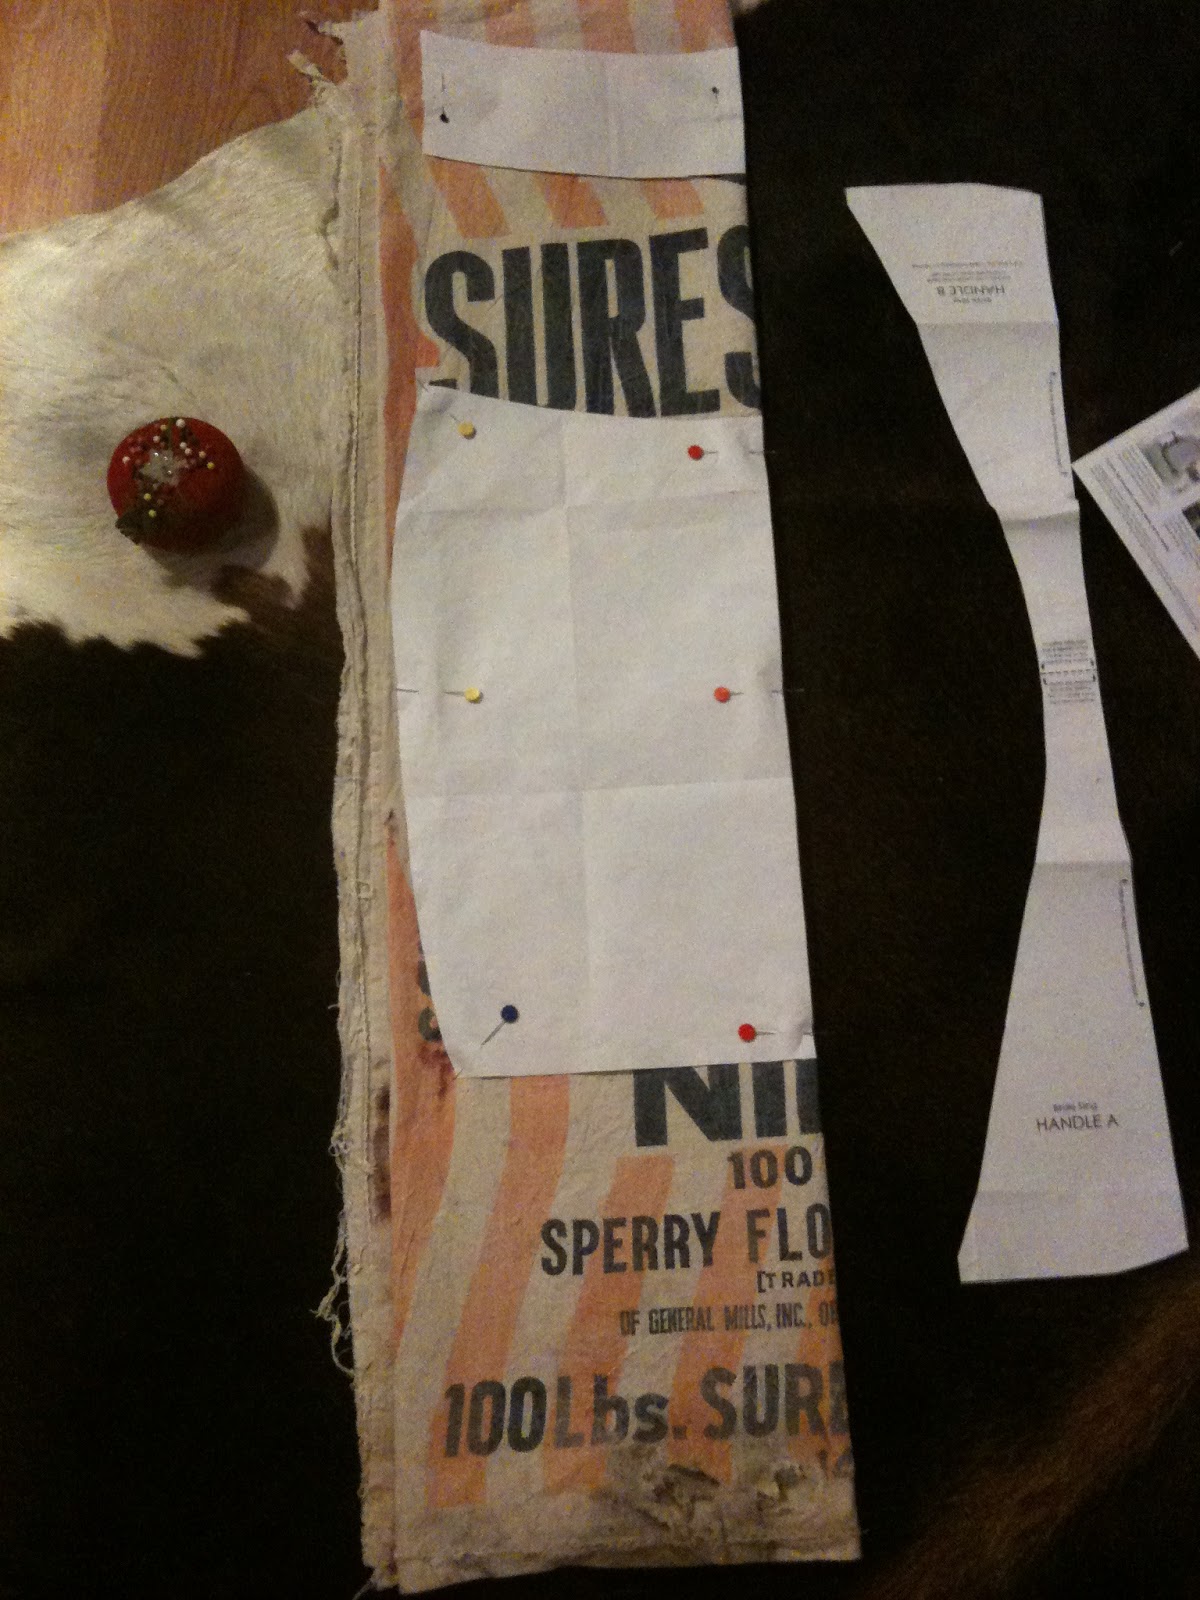
the vintage velvety baby strawberry is the dangle from an old pin cushion and is quite useful as i can sharpen my needles/pins in it!

yes, the awesome scissors are sharp and pointy.

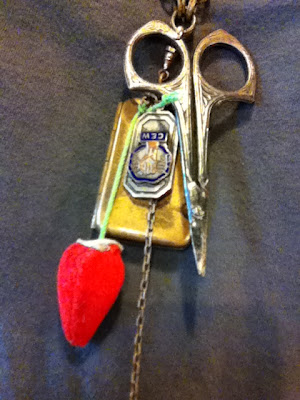
and that extra bit of vintage chain/necklace goodness is also just for the heck of it.
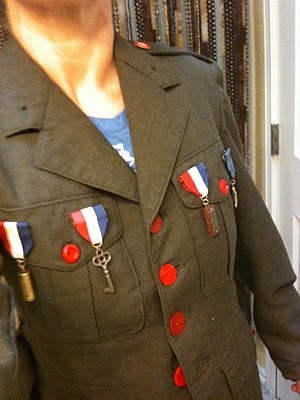
always be prepared.
it will be one of the foremost tenets of the society i am founding, likely to be named: The Not So Secret Society Of Exposed Rough Edges.
or tnsssoere, for short (!)
ha!

more on the not secret society soon,
xoxox
jennette


Green Cart

this is one of my favorite things in my house, this green cart or trolley, as i just discovered it is called in the UK.
my dad gave me this cart/trolley for my birthday a few years ago.
he knows me well.
and yes, in this photo it is a mess, but normally it is used as our "nature table" (as if the whole house hasn't already become our "nature table"!)
it's that boho naturalist styling thing i go for...

my dearest friend Suze just lent me her copy of the UK Country Living magazine, Country Home.
it is a gorgeous magazine filled with inspiring images and ideas.
and on page 113, in the decorate your kitchen section, look what i found:

my cart!
the trolley my dad gave me was found at a gardening center in eastern washington. 
i wonder where the UK twin was discovered?
quelle coincidence!

in other news, smashing rubbish news, today is the last thursday that the shop is officially open until fall!
i will have the shop open EVERY Friday and Saturday, unless otherwise posted, but i won't be open other days unless i get a wild hair, a spontaneous burst of shop opening energy, or some random urging to open it up.
if you see lots of cool loot out on the sidewalk in front of the shop, that means i have given into the random, wild, spontaneous urge and opened the doors for the day!
otherwise, you can expect to find us open EVERY Friday and Saturday thru the summer, noon to 6pm.
come see us when we are open and plan ahead if you need Smashing Rubbish merch for a gift or event.
my phone number and email are posted on the shop window so you are welcome to call for a viewing appointment as well, any time, and i will do my best to accommodate you!

thank you for your continued support and kindness friends!
i am going to take time this summer to get my balance, play with my kids, and be creative in ways i have not had time for this past year.  thanks for hanging in here with me, checking in , and leaving your sweet comments.  i will be continuing to blog and document all my finds, projects and experiences here so stick with me a little longer as we return to our regularly scheduled programming!

heading to the ocean for the weekend while kathy tends shop,
xoxoxo
jennette


Floral Geometric Velvet Bag

i made myself another bag from a vintage skirt
i used an unused belt for the straps
i lined it with material from a skirt i used to wear

i like the shape of bags made from skirts.
and i like the "bigness"
here is the skirt layed out, unaltered.
the skirt came with a matching fitted jacket that i kept
i love the floral and geometric goodness/combo going on here

another, in different light.
love it!

i sew, i sew, it's off to work i go,
xoxoxo
jennette


Birch Bark Phone Case

my iphone case is clear.
cheap.
and clear.
i had an "a-ha" moment and decided to give it a go.

you see the kind of "clear" i'm talkin bout?
hello gorgeous-pressed-flat-birch-bark "paper"

yes.
i'm a dork.
and i wasted bark by tracing the wrong way the first time.
oh well.
here is my authentic and one of a kind birch bark iphone case.
yahooie!
i love it!

eating more shortcake,
xoxox
jennette


Velvet Cuff

made myself a vintage velvet cuff.
i had this old gorgeous faded blue velvet from the lining of an old silverware box.
and i had this old silver cuff that used to have a string of sequins glued to it, (but i ripped those off!).
so i traced the size of the cuff, rolling it from one side to the other, to make a pattern for the velvet before cutting it out.
then i got some elmers glue out and used a paint brush to glue the velvet to the cuff, one inch at a time.
when i got to the other side and there was a bit of fabric left. i just trimmed of the excess.
then i set it near the heater to dry so i could wear it the same night for going to a show in ballard.

now i am working on adding some vintage bias edged, vintage velvet panels, to some awesome vintage boots i just scored at the thrift.  yes, i will show you when i am done!

always and forever loving me some vintage velvet,

xoxoxox
jennette


Victorian Amethyst Tassel Necklace

i made this victorian amethyst tassel necklace from a victorian tassel and a chunk of pointy amethyst!

the tassel was hallow in the upper middle part, like a small woven cup or basket.
and i had this beautiful piece of amethyst that used to be on my alter.  but it fit so snug and perfect into this little tassel cup that it got super glued in!
here you can see it just sitting in there and this is before i ironed the tassel ends.
i figured once i got the mineral set, i would add jump rings to the sides and just attach a simple vintage chain.

and so i did.  and i am really loving letting the hardware show on the sides lately.  so when i put it on i just swing the chain around and attach it on the side there.

this is definitely not the shirt i would normally wear it with but i wanted to see how it looked on.

so i do love it.
and when i can come to terms with letting it go, it will be for sale in the shop.
we all know i have a hard time with this...
but for now i think i will wear it like it's my new favorite necklace!

off to see Breathe Owl Breathe and hang with my buddies,
xoxoxox
jennette


Paper Mache Bee


i did some paper mache recently and thought i would share a nice way to give new life to old plastic crap!


like this plastic crap!  i found this at the thrift.  and as i am attracted to all things honey bee, i had to nab it.  but alas, i hate the plastic-ness of it!  so i figured i'd use it as a base and paper mache over it! 

smarty party much?!
just joking!
(kinda!)


since i have been "going gluten free" i have all this wheat flour in my kitchen i need to use up somehow.  so why not mache paste?  It turned out a bit bumpy and clumpy but it ended up ok with this extra texture.

working away


gettin somewhere

completely covered and starting to dry

after it dried i gave it a coat of thinned out white acrylic paint.  i wanted some of the print from the newspaper to show through like you see on Ann Wood's boats

a view from beneath


so the semi-opaque white honey bee is just hanging out in the shop.
not sure if i will try to add color or detail.
but i am happy to not being looking at the plastic-ness of it anymore!  it's been transformed, upcycled, and repurposed!

what are you all crafting lately?
gifts?
me too!

going home soon to play with boxes, wrapping paper and ribbon!
xoxox
jennette

p.s.
don't forget the shop will close at 4pm on Saturday December 24th and will reopen Wednesday January 4th at noon.
Thanks for all your support!


Metallic Gold Leather Bag & Pouches


here is the metallic gold leather bag i made from an upcycled and repurposed metallic gold leather skirt i found in nashville!


this photo makes it look more silver but it really is gold.


here is the back side and showing you the attached lining that i took out.

here i am just seam ripping, and seam ripping and seam ripping


here is the skirt inside out, no lining, and waistband detached


and here is another photo of the finished bag!

i made it with short handles, reusing the waistband, so it can hang off my arm or over my shoulder

it's lined with two different vintage fabrics and has a huge inside pocket

i like how in some light it looks more gold or less gold, but always metallic! i'm going to use it for a while. yeah, a new bag for me!

with some of the left over pieces i was able to make a few small zipper pouches!


one has a red zipper and one has a green zipper

both have the same vintage fabric lining shown here and both are for sale!

these would make adorable gifts!

get them while they last!

sewing, sewing, sewing,
xoxoxo
jennette


For the Birds!


finished another bag and it's for sale!


this one is made from a buttery soft brown leather skirt and some vintage embroidery of a bird and cherries!


here is a process picture of skirt and pocket placement


this is what the lining of the outside pocket looks like


the crochet trim is original to the embroidery.
the bag lining is a vintage calico type print.
and the strap in repurposed from an old army duffel bag!

Smashing Rubbish
Studio & Vintage General Store
15922 Main St
Duvall, WA  98019

Autumn hours:
Wed-Sat noon-6
Sun noon-5
closed Mon & Tue

off to buy more interfacing,
xoxoxo
jennette

Sew What

reclaimed, recycled, repurposed, upcycled
fur and leather clutch

reclaimed, recycled, repurposed, upcycled
70's airliner-blue mini skirt made into a nice big
tote-bag with vintage sailboat fabric lining

reclaimed, recycled, repurposed, upcycled
step stool recovered in vintage canvas and leather
from an old army duffel bag

reclaimed, recycled, repurposed, upcycled
step stool recovered in vintage
linen with a gardening print

reclaimed, recycled, repurposed, upcycled
and a new "painting" bag
made from this painting:

all this and more will be up for grabs on
Nov.4 at our Shop-n-Sip event, 7-9pm.

along with all the new reclaimed, recycled, repurposed, and upcycled loot, there will be all the treasure i can haul back from Nashville!

so come check it out and have a fun with us!

sawing wood for shop signs,
xoxoxox
jennette


New Boots- Sorta

altered rain boots!

found these old Helly Hanson rubber boots at a tag sale recently.
loved the orangey brown and yellow.
but the rubber was so vintage that it had started to crack down the back.
can't have cracked rubber y'all!
so i took my trusty heavy duty scissors to them and did away with the top cracked part.

hmmmmmm....what to do with some short rubber hacked up boots?
add fabric trim.
of course!
i had, in my massive stash of fabric, textiles and scraps, some cashmere and silk.
who wouldn't want to pair rubber with the finest of natural fibers?!
my most excellent and awesome new industrial sewing machine was able to help me get the majority of the fabric attached to the rubber.
but because of the shank in the boots foot bed, i was not able to bend it in a way that allowed me to sew entirely around the top cut edge of the boot.
no worries!
fabric glue to the rescue!
i found, also in my massive stash of trims, ribbons and bindings, this perfect green bias tape.

add a little glue, get out your paper clips(!), and get to work!

i love how these turned out!

my "new" luxurious winter rain boots!
j'adore!

what are y'all repurposing, altering, upcycling these days?
do tell!

rearranging Smashing Rubbish World Headquarters for the umpteenth time this week,
it's a good thing!,
xoxox
jennette


Peacock Bag

hi friends!  long time, no post! 
sorry for the bad photos here.  bad lighting.
this is a short, squat, square bag i made from an embroidered peacock runner.
close-up of the peacock embroidery.  there was on one on each end of the runner so i intended to make them into pockets on a bag.
this is the table runner

here is a photo of the inside of the bag.  i used a vintage floral to line the bag and a linen napkin for the inside pocket.

silly self-portrait of me sewing the bag

inside view

i placed the pockets on the end of the bag.  one on each end.  and used some of the left over fringe from the runner to go across the top of each pocket.  i just used some old canvas for the main bag body.

i used a woven fabric strap for the handle.  for some reason i always seem to find these at sales and now have quite a collection to keep using for straps.  you might remember i used one here for the oil painting tote bag.  anywho, this will be for sale soon.  either in my Etsy or down at the shop.  have at it!

off to a dear friends moving away party and trying not to cry,
xoxox
jennette


Corn Bag Cushion

here is the finished chaise lounge cushion i recovered for my friend Kathy.  it turned out even better then i had hoped and Kathy loves it!  i love it too! 
here is the original cushion:

the cover i made slips right over this and opens in the back for easy removal.

here is a close up of one of the vintage feed sacks i used.  I used three in all.  Kathy had bought them especially for this project and she gave me a cotton curtain panel to use for the back fabric.

here are the sacks layed out in the initial stages.

trying to show you the red double top stitching i did on the top to tie all the pieces together.  i will show you the overlapping "pocket opening" in the back.  it's just like you might see on a euro sham pillow:


so there you have it.  another cover up!  Kathy is using vintage ticking pillows to go around the back side of this, where your head, neck, and back would rest.  i bet it looks really good all together.

off to work on more painting bags.  i know i've said it a hundred times but i am trying to get several bags done so when i get back from Tucson i can list a bunch of stuff at once in my Etsy shop.  wish me luck.  fingers crossed.

xoxox
jennette


Bite Me

i found this plate at the thrift a few weeks ago.  i have been looking for pretty plates to write silly messages on like i have seen on Etsy.  this one has pears and cherries so i figured, "Bite Me" was appropriate!

here is the plate without the words

the back already had a hanger on it

i do not own a porcelaine pen yet so this time i used adhesive letter stickers and then varnished with clear matte shellac to finish it off and make it last and be durable for longevity.

i have a few other blurbs i want to try out on plates and dishes but i will wait until i have the porcelaine pen since you can paint or draw whatever you want, bake it in the oven for a few, and then have a new creation made.  lots of exciting possibilities with this!

the "bite me" plate is down at the shop for sale.

skiing the Cascades,
xoxoxo
jennette

Sheep Bag

this is the bag i made out of a vintage feed sack i found at an antique show in the fall.  the bag has been done for a while now.  i was trying to wait to post about it until i had my Etsy shop all up and running so i could list it there.  but alas, nothing in the Etsy shop yet.  yet....  but there will be!

the folks i bought this from said they found at an estate sale on the Colville Reservation here in Washington state, on the east side.

a close up

here the pattern is being layed out.  it was important to me to use up every single bit of print i could.

this piece ended up becoming a big divided outside pocket


i threw in this photo to show you the double row of top stitching detail i do on all the pockets and edges.  it gives a nice finished look.

i used a vintage print dress for the lining of the bag.  the square part cut out of the bust turned into this:

one of the inside pockets! with original seams and tip of v-neck, etc.

here is the back side of the bag with the wide strip made into three separate outside pockets.  i used the back of the sheep feed sack for the back of the bag.  and like i said, i was trying to use up every bit of print the bag had so i got some on the handle too.  i really like the worn look and all the markings of age and wear and tear.  some people look at them as blemishes.  i look at them as character.

a look inside the finished bag

so there you have it folks!  the sheep bag has been a big hit with my friends, three of which say they want it.  i will certainly publish a little post about it when it's up for grabs on Etsy.  stay tuned!

deciding on a new tattoo design,
xoxox
jennette


Medals

i found these vintage swim medals at Second Saturdays for $1 each!
as soon as i saw them i knew exactly what i could use them for.  i was thinking about my revamped military jacket.  i was thinking about the millions of little drawers i have here stuffed full of cool little treasures.  and i started to think about what i could replace those medals with before attaching them to the coat.

here are a few of the items i had in mind:

a tiny scope.  see below:

gotta have a scope for outdoor adventures!


and a little tiny harmonica!  can't leave home without one!

an old sterling silver and red glass watch fob.  cuz it's cool.

and for the 4th one i wanted the arm and hand, because don't you always need an extra hand?!  but in the end i went with the key.  because keys can be helpful too.


here i am in all my glory with my cool "McGiver" medals.  clearly, i am ready for an adventure of the epic sort.
bring it on!

paying bills,
xoxox
jennette


Carpet Bag

Finally finished the carpet bag!

I found this rug piece in Tucson last spring and hauled it home with me.  I also found a full size rug, perfectly worn, that I hauled home too.  Thank you Southwest Airlines for letting us each check two bags for free!  I was able to bring home a massive ton of loot!  Anyhow, here is the rug piece, as found:

Here is the piece, as found, layed out on my floor.

Here is a closer-up detail.

I used dark brown linen, from an old dress, to line the inside side.  Its hard to see but I made a pocket too.

This photo shows how I just guesstimate about where and what size I want a messenger style bag to be.  I line the entire piece first then play with bag/flap size until it looks just right to me.  Then I pin in the side/strap piece.  This time I used the brown linen for one side of the strap and some army green linen from and old pair of shorts I picked up at the Lopez Transfer Station, Take It or Leave It, over the summer. 

Here is the strap before I began pinning it to the bag.


In these two photos I am trying to show the pinning of the strap to the bag in a way that you can see how I construct it.  But these photos don't do it justice.  I basically pin the bottom of the strap to what I want to be the bottom of the bag and then sew it up the sides to the top.  In this case, I made the strap too long so I need to go back and shorten it.


So with the carpet bag finished I can move on to other projects that have been left unfinished and half started.  Still working on my jacket from a vintage pattern.  Still working on a few other bags in progress.  Still have a few dolls being embroidered.  Still have mending and tweaking on several garments to finish.  Still, still, still.  And most of it will have to wait until I am back from vacation because that is fast approaching and I have many little ends to tie up before we fly off.  I plan to show you many of the finds I have discovered in the past couple weeks.  Stay tuned.  Normal programming will resume in the New Year. 

xoxox
Jennette


Vintage Altered Halloween Portraits!

Last year at this time we decorated, altered, embellished and otherwise upcycled these cool old vintage photo portraits we had in the basement.  I had been collecting these for a while and had not taken them down to the antique mall yet.  And I had seen a similar project that inspired me to dig these out and get to work!
This was a family art project.  We got out paper, glue sticks, tape, etc. and our creative juices began to flow!  Forgive me now if these are offensive to you.  Just look away!  But this is my families idea of scary.  Boo!

I can't remember who made which one and most were collaborative anyhow.

Most of the colored paper is applied with just a tiny dab of glue stick so it can be removed later, if need be, and it wont damage the portraits anymore than they already are damaged.

We hang these around the house using big vintage paper clip type holders that are hung on a tack.  Or, I have a handful of vintage clipboards that can hang on a tack while the portrait is clipped to the board.

Freaky Baby!
So, be sure to send me a link of your altered photo portraits if you get inspired to make some yourself!  I'd love to see what creativeness people can come up with!  These would be fun to do at other holidays too, like bunny ears at Ostara. 

Make Art, Create, be Creative!

xoxox
Jennette


Glam Witchy Haunted House!

The Glam Witch, in all her glory!

I had an old dollhouse down at the antique mall that had been there for months.  When I did this big reset of my space last week I decided I was done with it there and I was going to turn it into a haunted house.

Here is a photo of the house as I started to tape off the roof.  I liked the dark gray slate color the roof was so I wanted to preserve it.  Everything else I wanted black!

See.  The lite green and red simply wouldn't do for a haunted house!

I am giving you a view from every angle so you can understand how much this needed to become a haunted house!

First coat of spray paint.

Ah ha!  Haunted house base ready for embellishment!

So I found this little doll down at the antique mall and she was $5.  Her eyes are kinda wild and her hair jet black so I just thought she'd make a great little witch.  I remembered that I had that little cupcake topper jack-o-lantern bucket to hang off her arm and I found a tiny key to hang off the other arm.  She ended up with a hand charm necklace as well.  Lucky girl!
I made her the black hat out of construction paper.  I added glitter trim, a silver star and feathers coming out the top.  She is looking real witchy with her hat on! 
Once I had the silver glitter out, it was all over!  In the sense that I wanted to glitter-fy everything!  So I added glitter trim to the house to give it some bling.

I added cheesecloth behind the windows and then glued in long black feathers.  I added really small details that are hard to capture but I will try to show you.  I had some agate beads that are black birds so I glued them above some of the windows.  There is a bat hanging out in the eves, some spiders on the roof, a skull in a heart and limbs hanging in the windows!


The arm and leg charms are little Milagros from Mexico.  They come in handy as spooky elements.

There just happens to be a lamp on behind the house so it gives the windows a nice glow.


"Why you call me Crazy Eyes?!"

Here is a view of the back.  You can see how it all got painted black, wallpaper and all.  If I don't sell this house soon I am going to be tempted to furnish all the rooms!  Yes, I do have miniature vintage doll furniture.  You know I do!

Watch out!  She'll try to get ya!  She has a bucket full of glitter and she isn't afraid to use it!

So that's the haunted house I have been working on.  Upcycled, recycled, and repurposed.  Good as new!  I put a high price on the whole sh-bang for now because I wish I had the room to keep it and don't want to see it leave so fast but I will likely mark it down by next week if its still there.
Not a lot of sewing in the past few days.  Worked on some baby gift items and have a lot of sewing projects planned but it all comes down to the amount of time I have to sew in one day, people.  There just aren't enough hours!
Off to do some pasting,
xox
Jennette