

Ta da!
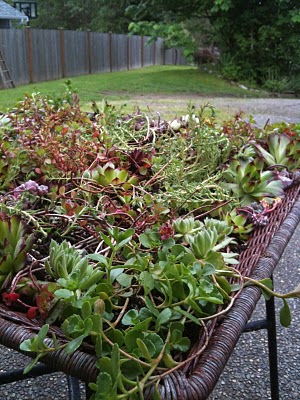
The sedum-succulent table top is DONE!
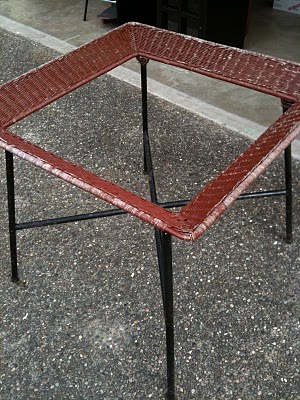
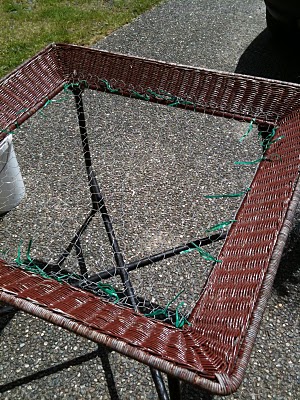
The table. Exactly how I found it. Do you think it had glass in the middle before? Hmmmmm......
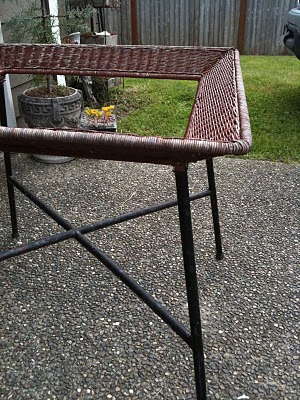
A different view.
View with chicken wire attached. Yes, that is chicken wire attached with green twisty ties since I couldn't find the clear plastic zip ties. Yes, I am resourceful :) And determined!
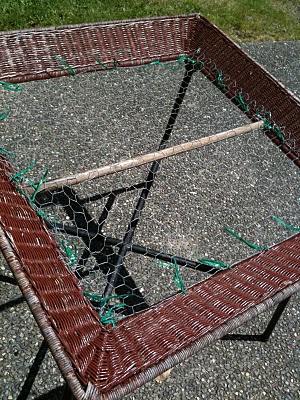
Photo with center dowel brace installed. Find an old dowel that used to be a chicken roost. Cut the ends at similar angels. And shove it up and under your first layer of "mesh." Voila! Center brace!
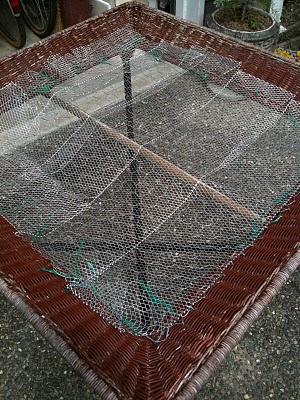
Table with second layer of "mesh." I used "Gutter Gaurd" for this layer since I wanted a smaller weave than the chicken wire. Both, together, give this structure, heft, and just the right size for water to drip thru but not spanish moss or soil to seep thru. perfectomundo!
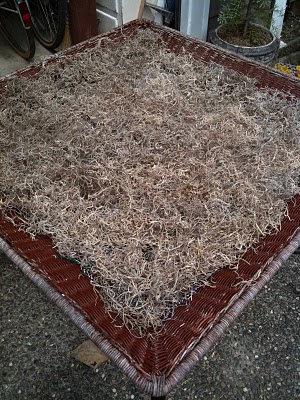
Topped with Spanish moss.
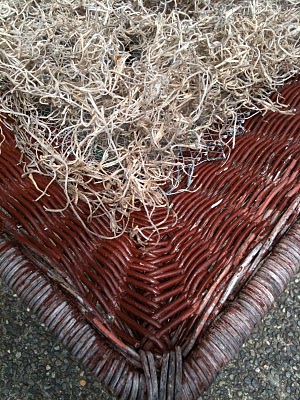
Close up of one corner. I was trying to show how you can still kinda see the wire mesh mess underneath even though it has a nice thin layer of moss on top. Key with the moss is to use "just enough," and not too much. Especially if you are buying it from the hardware store. Be frugal!
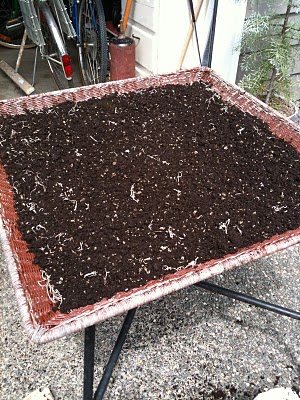
Which layer is this? Oh yeah! Like the 4th layer, or so. Soil on top of Spanish moss, I guess :)
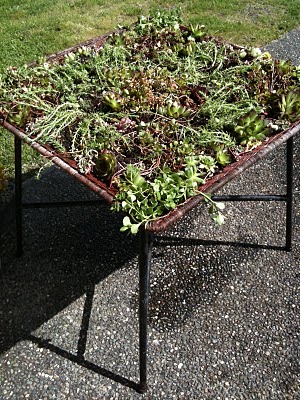
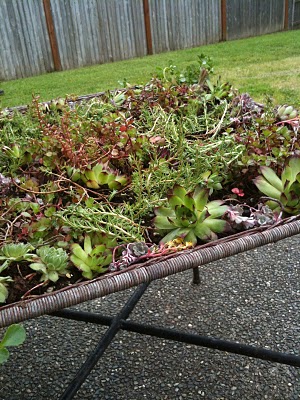
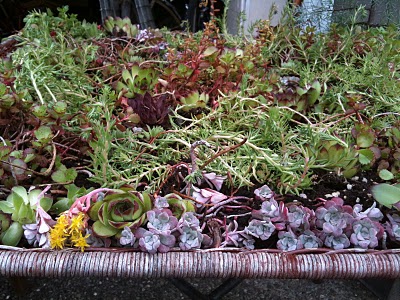
Another view of the finished table just after planting and first watering with organic fish food fertilizer.

View with another newly planted sedum chair, as well.
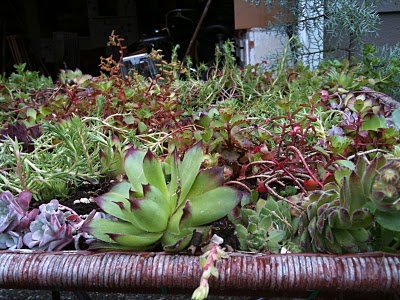
Plant, grow, nurture. Have fun and make art!