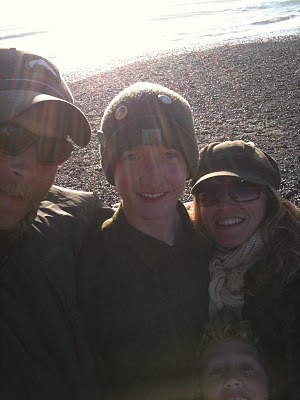
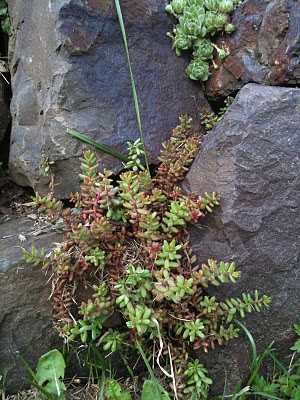
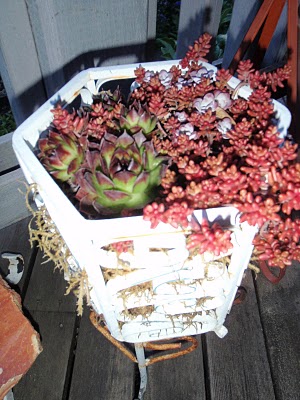
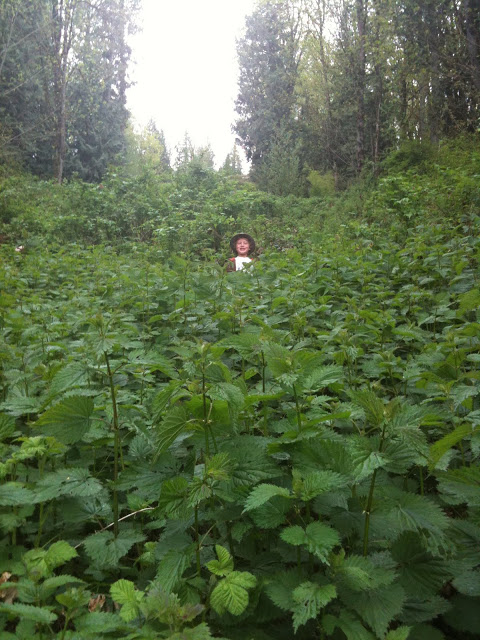
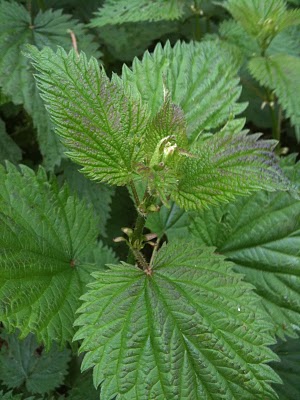
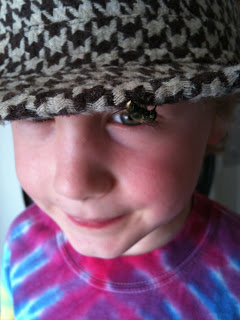
Jasper near the top of our nettle patch!
This post is about Nettles! The super food kind and the fashionista kind! I think I finally figured out how to get my photos to load correctly so here it goes!
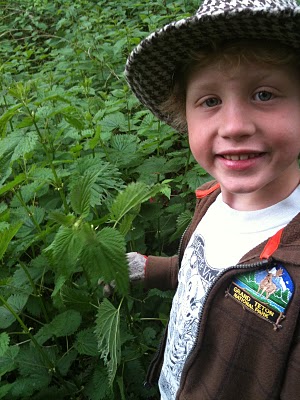
Jasper at the nettle patch helping pick!
I have been harvesting, eating and drinking nettles for about 8 years now. Before I had Jasper I started an herbal apprenticeship at
RavenCroft Gardens. At RavenCroft I was able to study for 3 years and I earned my certificate as a Community Centered Herbalist (CCH). During my time at RavenCroft I learned so much about connecting people, plants and the earth and I have been able to share some of my tiny bit of knowledge with my community. In my first year at Ravencroft, in the Healing from the Ground Up program, I was able to develop a personal Materia Medica beginning with Nettle, Dandelion, Red Clover, Comfrey, Oatstraw, Burdock, Plantain, Calendula, Kelp and Chickweed. The majority of our work was based on
Susan Weed's book
Healing Wise and all of our work was centered on the Wise Woman Tradition. I cherish my years and time at RavenCroft. I made such deep connections to women, ideas, theories and practices that changed my life forever.
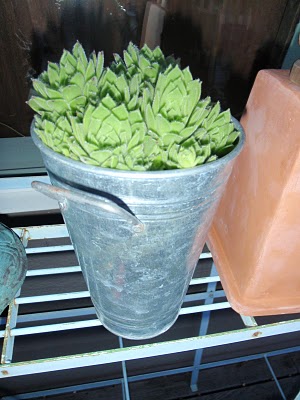
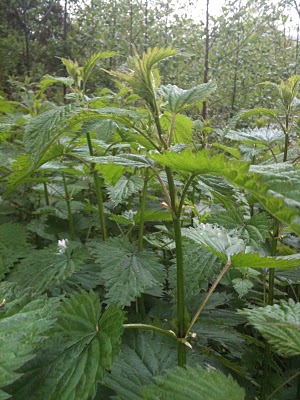
Nettle Tops
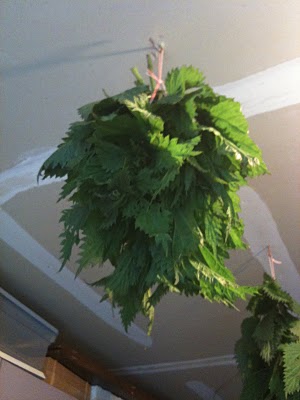
One way that RavenCroft "grew" me was in my learning about Nourishing Herbal infusions and how to wild craft, gather, harvest and use all sorts of weeds, foods, medicines, plants, roots etc. One of my favorite "weeds" has been Nettle. I harvest nettle every early spring and hang it by the bunches in my garage to dry. I used the dry nettle to make nourishing herbal nettle infusion for myself and my family. Jasper calls it nettle juice and has been drinking it since he was a baby. I like to drink it cold and especially in the summer when my allergies are acting up. I use the leftover leaves in soups, quiches, pastas, etc and if I have left over infusion after a few days, I feed it to my plants.
Nettle bunch hanging to dry.
I make my infusions by weighing out an ounce of dried nettle leaves and stalks and shoving that in a half gallon canning jar. I fill the jar to the top with hot boiling water and put a plastic cap on it for at least 6 hours. If I make it at bedtime, I let it sit on the counter all night and put it in the fridge in the morning. I like to drink it cold so as soon as its good and cold, I just pour the infusion off the top of the nettles and drink away. Nettles makes my skin, hair and nails so much more healthy and it is LOADED with tons of minerals and vitamins. No other green vegetable excels nettles in mineral and vitamin content and it is one of the worlds most chlorophyll rich plants. Recently I have heard nettle lauded as a Super Food and I totally understand why. There is over 1000mg of calcium in 8oz. of nettle. Wow!
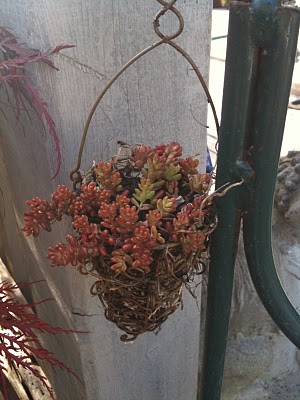
Close up nettle top. These are just about to bloom and then Nettle harvest time will be over til next year.
With the fresh nettle I always make a quiche the same night of the first harvest. This year I made bacon, shitake and nettle quiches, one with regular pie crust, one with spelt crust. Jasper ate most of the spelt crust quiche in his lunch the next few days and he loves all things rich and green. The kid eats seaweed and Nori like its going out of style.
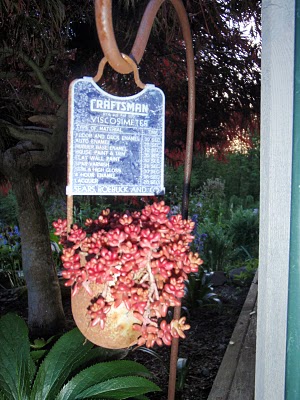
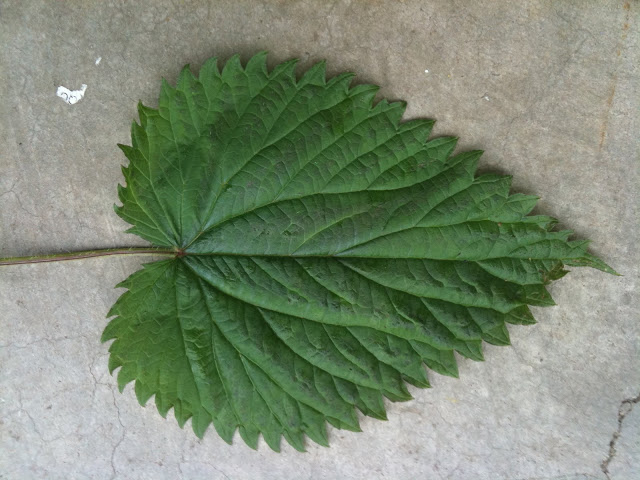
Close up detail of nettle leaf top.
When we pick nettle, we wear tough gloves so we don't get lots of stings. We make sure to wear long pants and long sleeves and be mindful of our surroundings. Jasper has become a pro and can now pick nettle with bare hands without getting stung. He knows how to pick a leaf, fold and wrap it up, and stick it in his mouth and eat it without a single sting. Pro!
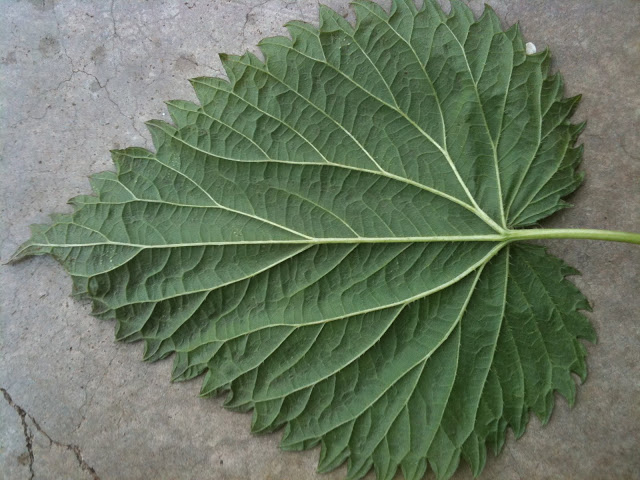
Close up detail of nettle leaf bottom.
To me nettle smells peppery. As a standard brew it is gentle yet powerful. It nourishes and changes energy. It is excellent for pregnant and lactating women. All parts of the plant are useful and both of my boys still make nettle cordage like our northwest native american forebearers did. No part of nettle is poisonous and you might try locating it under big leaf maples. You would do well to make nettle one of your allys in healing. I did and its high iron, protein and calcium content have served me so well, especially in my bouts of low blood sugar madness. I will never be without you nettle. You are a friend for life!
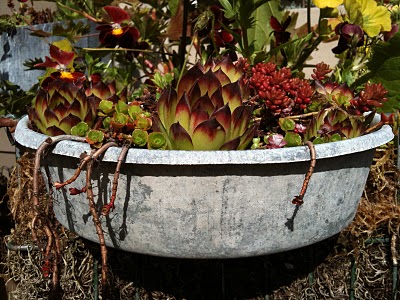
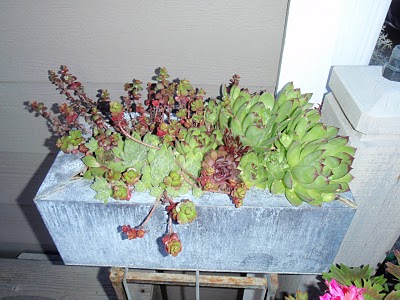
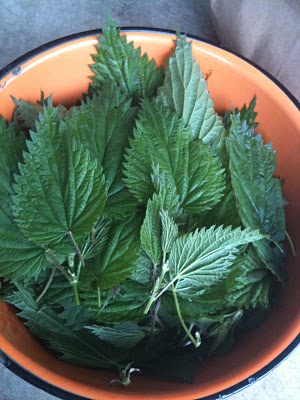
Bowl full of nettle leaves waiting to be chopped.
Recipe for Nettle, Shitake, Bacon Quiche:
1 premade pie crust ( I buy organic ones at Whole Foods)
4 eggs
1 cup cream or half -n- half
cheese (enough to cover the bottom)
chopped onions, sliced shitake mushrooms, and chopped and cooked bacon
several handfulls (with gloves on!) of fresh nettle leaves chopped
Preheat over to 350. Line the bottom of your crust with cheese. This creates an oil barrier layer so the crust shouldn't get too soggy. Next, fry your onions in olive oil and/or some of the bacon fat. I like to almost carmelize mine and then throw in the mushrooms. Cook a few minutes and then add in all the chopped nettle. I did this in a big soup pot that I had cooked the bacon in so with the high sides everything fits before it wilts down. Meanwhile, whisk the eggs with the cream and set aside. When nettle, mushrooms and onions are almost done, toss the bacon bits back in and give it a good stir. Now take all that and pour it in the pie shell, over the cheese. Then pour the egg/cream mixture over that. Season and voila! You are ready to put it on the middle rack in the over and cook for at least 45 minutes. Watch the crust. Also, you can place a cooking sheet under the quiche if its very full so the boiled over spills dont get stuck on your oven floor. Let it cool for ten minutes or so before slicing and then dig in! Its good cold the next day for lunch too. Yum!
Please also check out my friends Kimberly and John's website,
Learning Herbs, to learn more about herbalism, plants, and how to use them. Their website is SO FULL of information and I highly recommend it! You will even see a picture of Jasper and I if you click on Cold and Flu Care!
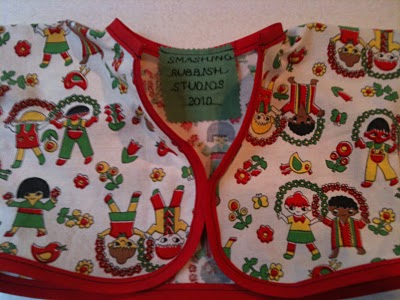
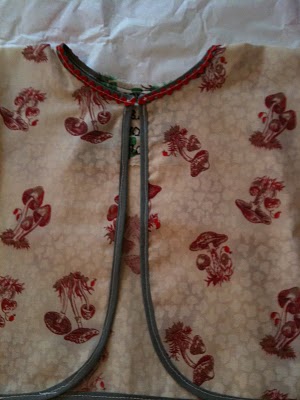
On a different note, completely, I love fashion! One of my favorite blogs to visit and scour is
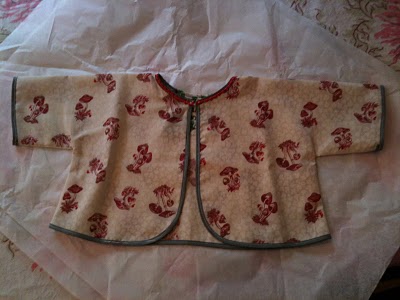
Clever Nettle. I almost named my own blog something-something-nettle. Anja, the blogs proprietress, lives in Portland and I am fairly obsessed with her, on many levels. Her work is to thrift for awesome vintage and modern-but-cool clothes and she sells them on
her Etsy sight, and then she blogs about it. Dream job. And she is so cute. And she very often posts about food in Portland and those of you who know me well do know that I am obsessed with Portland, food, vintage, thrifting, clothes, etc. Even though I am mostly a t-shirt and jeans kinda gal, I do love fashion and clothes and I have many a packed closet full of cool vintage clothes that I never get to wear around in my daily life. Sigh.
Many of the restaurants I have been to in Portland are on Anja's recommendation. Check out
Olympic Provisions,
Calderra Public House and
Navarre to name a few.
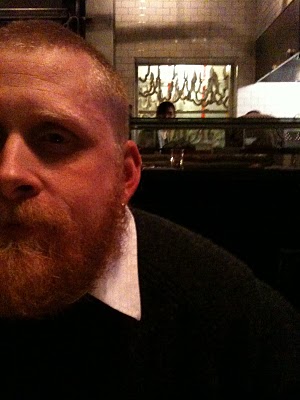
Chad at Olympic Provisions with all the Charcuterie hanging behind him.
Because of Anja and her friend Rachel, that she often speaks of, I am currently obsessed with
Swedish Hasbeen shoes. I think I have to get a pair, pronto, and I think I will be going to
Clementine's, in West Seattle, to try some on first. Also, my obsession has become contagious and I think I pretty much have Erin talked into needing a pair too! It'll be a girls afternoon on the town and it aint gonna be cheap!
Assorted colors of Swedish Hasbeens!
Anja is leaving for
New Orleans in a couple days. I feel like a stalker but she has been asking for suggestions of places to go see, where to eat, what to do and visit etc. Again, those of you who know me, know I am profoundly in love with
NOLA, its part of my email address, I just went back for the third time in the fall and I do plan to live or stay there for an extended amount of time in the future. Fingers crossed!
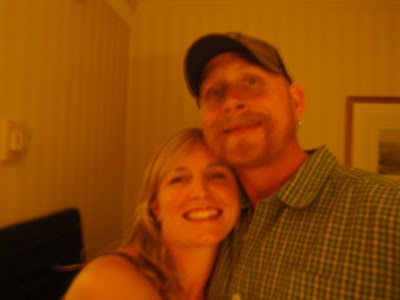
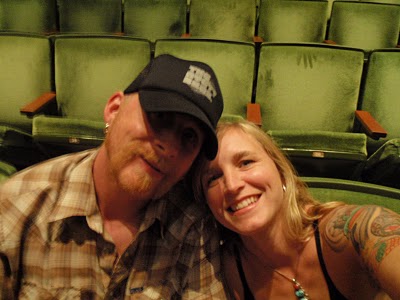
A blurry photo of us in our hotel room at
The Hotel Monteleone famous for being haunted and for its Carousel Bar in the lobby. Also the rumored birthplace of Truman Capote!
So I have been desperately trying to piece together every little bit of what I would want to tell Anja about
New Orleans and I am realizing that so much of the magic of the city is that you have some amazing thing to discover at every turn. There is never a dull moment and I am not sure that you can ever have a bad meal there. I wonder what it would have been like if I had gone there for the first time armed with a list of "must do" things. I think it would have been a little different experience, and I would have been glad to have had some guidance, but I also had the luxury and delight of "self discovery" without the pressure or anxiety of "gotta go, gotta go, gotta go." I would do that to myself with a list. It would become my boss and I would feel compelled to "accomplish" every item on the list. And I would not have as many deep, cool, in-the-moment experiences if I went by a list, because, like I said, being me, I would rush to do it all and not leave time for magic and happenstance. I am beyond certain that Anja would never just do exactly what I suggest she do, but I think I will withhold my desire to rush to share every detail, of every place, of every taste, of every sound that I would want Anja to experience, so she can find her own experiences of the amazing city. I gotta think of just a few key gems to share and let the rest stay in the magic little place in my brain where the rest of
NOLA is perched on a pedestal forevermore!
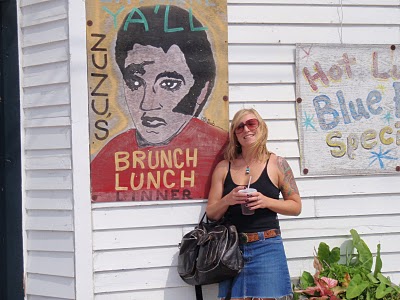
Gem #1:
Me in front of
Elizabeth's Restaurant in the bywater area. Take a cab from the quarter. So worth the drive. Best breakfast ever!
Gem #2 (&3)
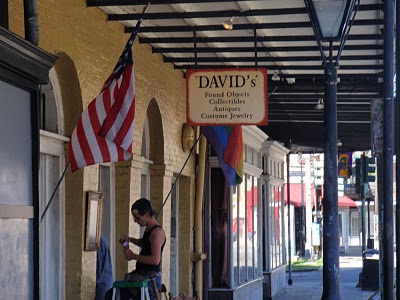
This is
David's Found Objects. I would also highly recommend checking out
Le Garage across the street on Decatur. In fact, Decatur is where its at. Next time, I will be staying on lower Decatur, FOR SURE!
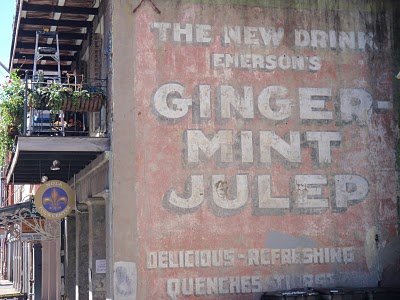
Gem #4 and beyond
Walk around and take it all in!
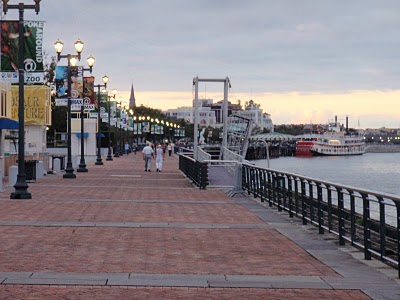
Walk along the Mississippi on the Riverwalk.
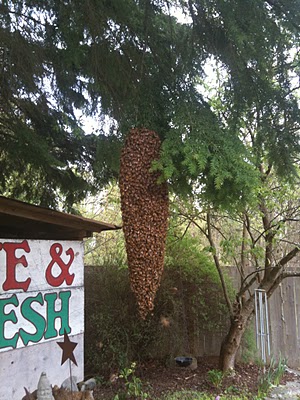
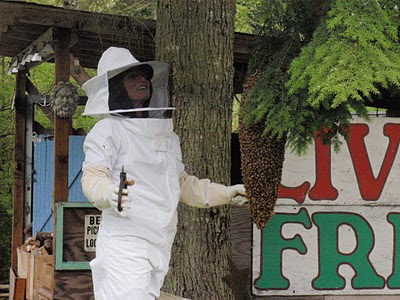
Just watch out for the BIG bugs!
We spent one day driving up to
Baton Rouge and exploring there before seeing one of our favorite bands,
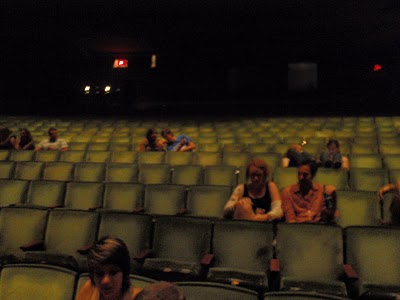
The Avett Brothers perform. It was exciting for us because we were in the 6th row or so and the venue was virtually empty. Here is how excited we were and how empty the place was:
The lack of an audience should in no way reflect the awesomeness of this band! We were just in the middle of nowhere! They were originally scheduled to play at
House of Blues in the Quarter but for whatever reason had to cancel and at the last minute rescheduled in Baton Rouge so I think people were just not so aware that they were in town. Lucky us!
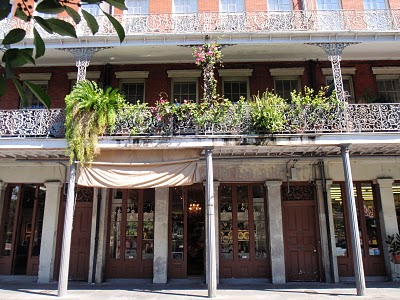
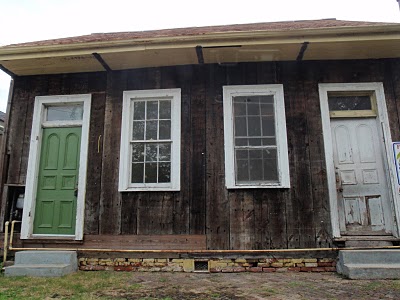
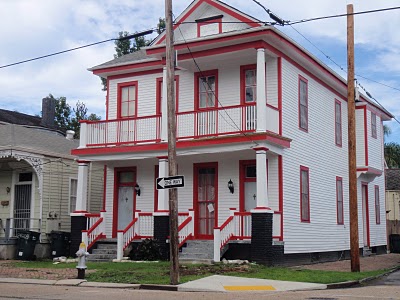
Look at some balconies:
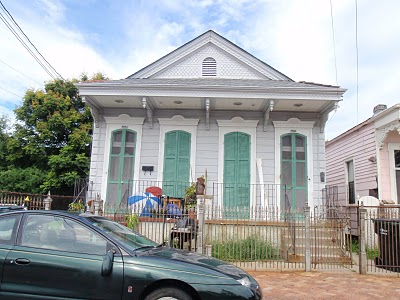
Check out some neat houses:
Side note: Have you been watching
Treme on HBO?!! Ohmygawd, I love this show. The music, the scenery, the vibe. Love all of it.
This past October was the first time I had been back since Katrina and it was a very different feel in the quarter. The sense of mysterious and ethereal things, intangible, laying right below the surface, is still there but the many little obscure shops, galleries and eateries are gone for the most part. I missed that part of it. There is no lack of people who are ready to share what happened to them during Katrina. You can still see wrecked buildings and the high water marks on underpasses and structures. It makes you wonder and leaves a tinge of sadness but I am just so darn happy that the essence of NOLA is still there. Keep rebuilding NOLA! I will be back!
Do you know what it means, to miss
New Orleans, when that's where you left your heart?