Tanzanian Fabric


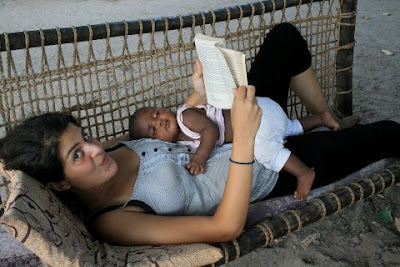
this here is the lovely Ms. Sheina Lew-Levy.
she has recently come back from 6 months in Africa.
she's amazeballs!


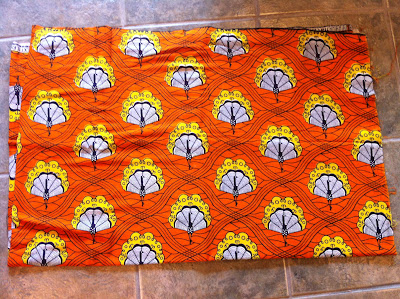
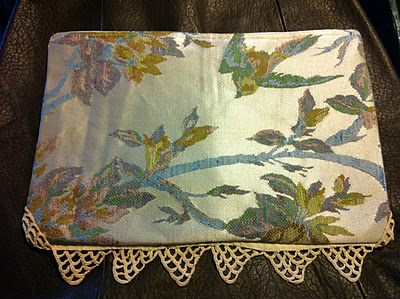
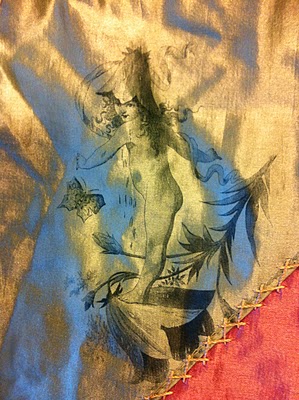
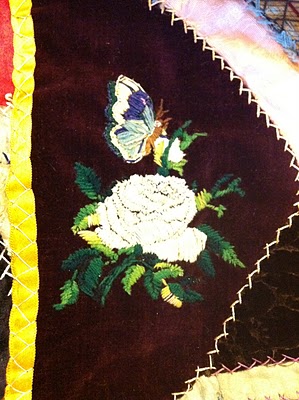
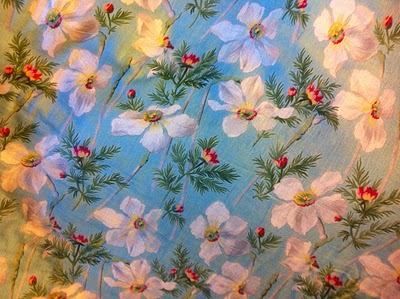
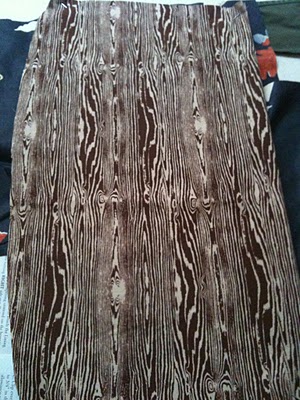
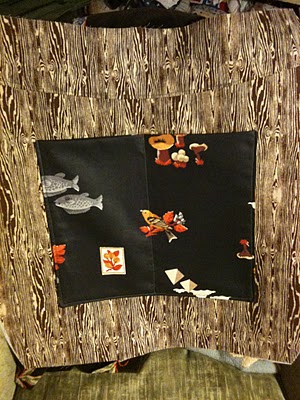
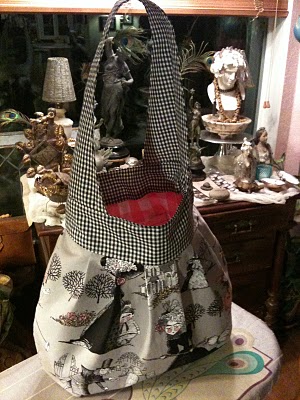
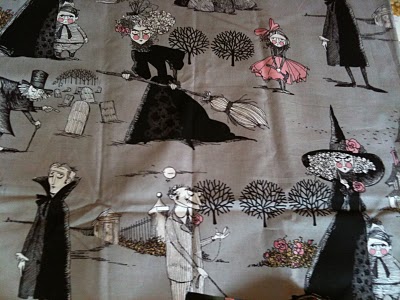
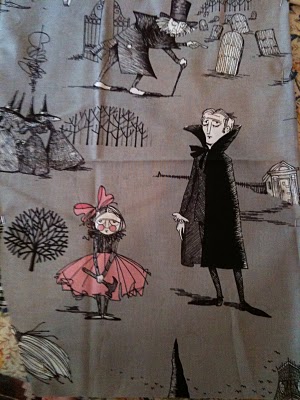
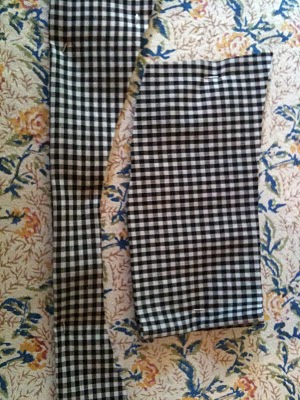
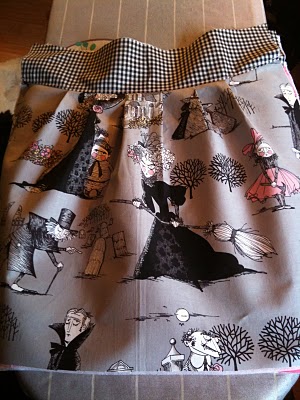
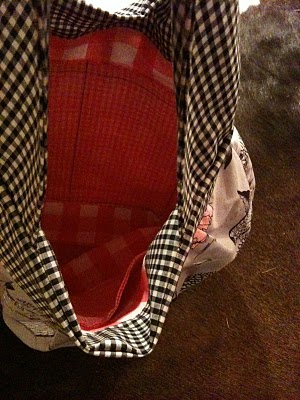
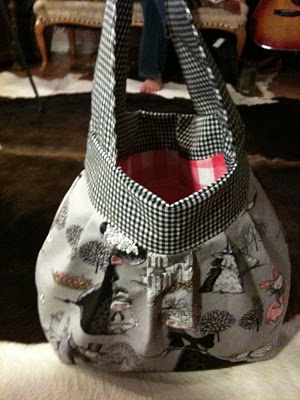
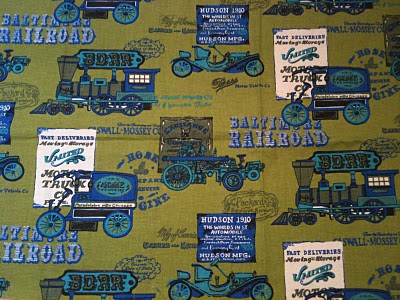
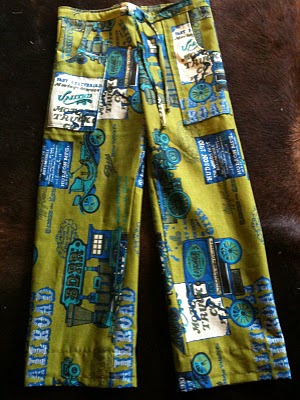
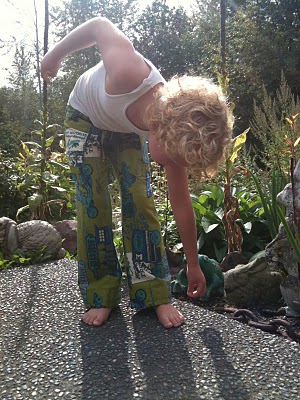
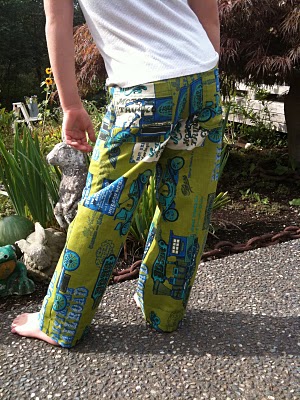
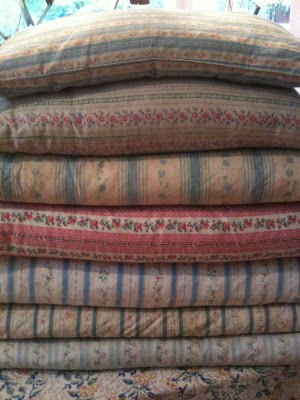
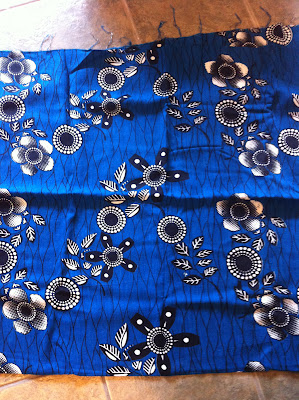
and she was kind enough to bring me much yardage of tanzanian fabric to play with!


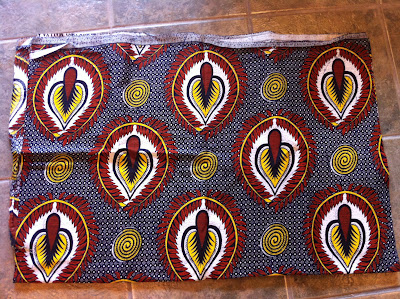
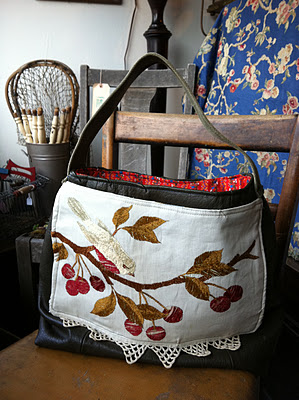
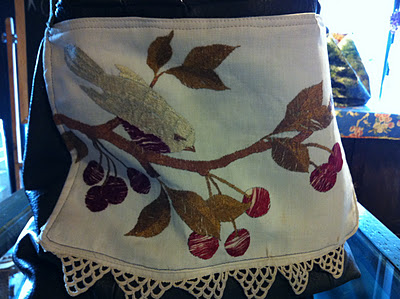
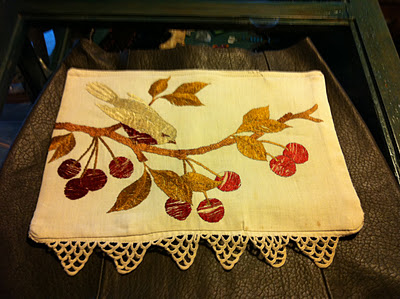
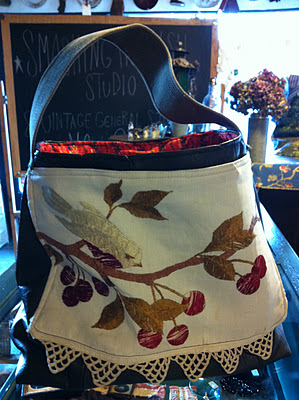
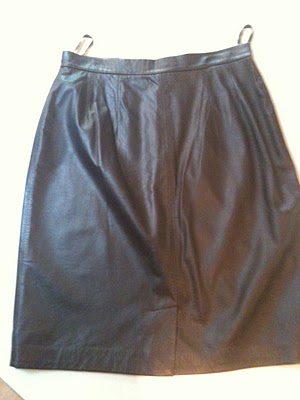
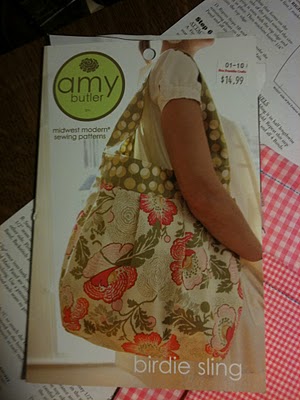
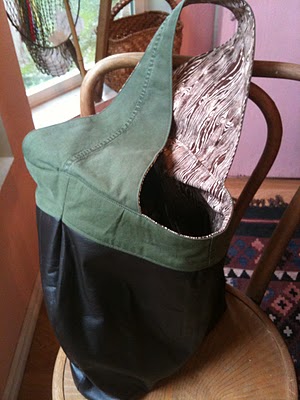
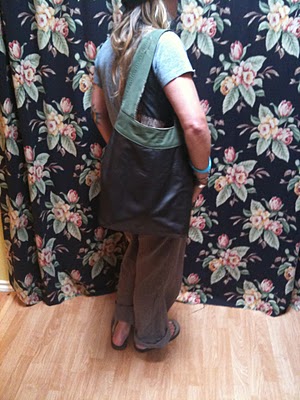
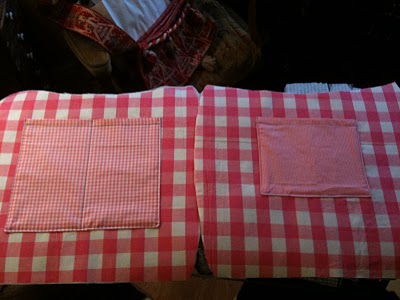
i plan to use this fabric for all variety of fun stuff: skirts, bag liners, totes, pillows, aprons, etc.
she brought me a lot!


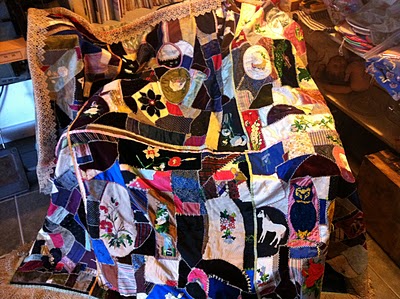
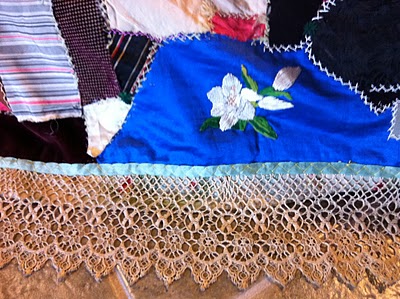
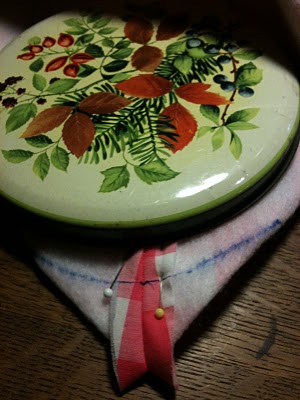
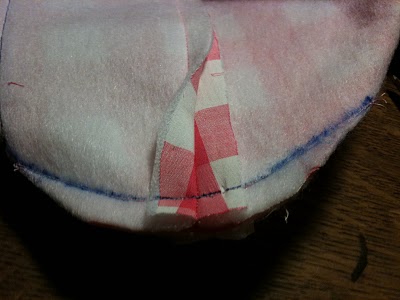
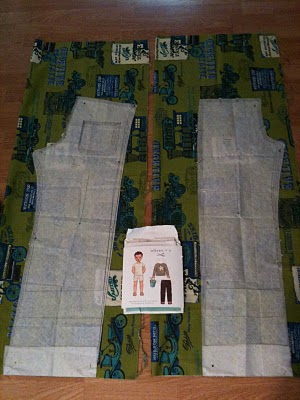
what have you been sewing?  i have a whole pile of projects that need attention.  so hard to stay indoors on these nice summer days though.  thinking about moving my studio back to my house so i can work at night, in my jammies, without having to leave home!

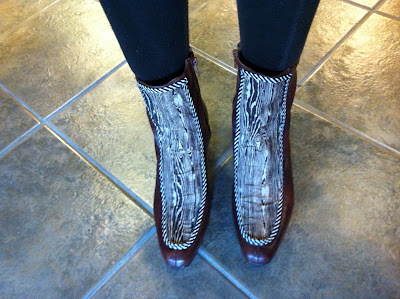
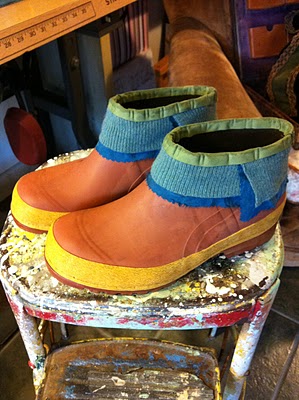
gluing embroidered flowers on gold l.a.gear sneakers,
xoxox
jennette


Boots!

these are the finished boots, the vintage plasticy ones i scored at the thrift last week that are in primo condition, after i took a crack at them with fabric and glue!

see that panel down the front?  i figured i could just trace a pattern for that and snazzy these babies up.  so i did!


once i got the pattern cut out i was originally hoping to cut out this gorgeous peachy vintage velvet that natasha gave me.  it used to be her grandma's curtain panels!  can you image?!  how divine!


the color looks much more pink here.  but after i got these cut out and tried sewing the vintage black and white striped seam binding around the edges, it was a disaster!  the binding didn't have enough width to really grab the velvet how it needed to so it just kind of peeled off.  disaster.  so on to plan b.

those of you who have known me for a while know that i LOVE me some wood grain print!  i have made a BUNCH of stuff with this fabric: a bag, a jacket, card holders, tissue pouches, etc.  well i have just scraps left so i figured what the heck.  some wood grain boot panels edged in black and white striped binding.  good, yes?

here are the supplies: boots stuffed with bubble wrap and fabric to keep them stiff and give them form, elmer's glue, paint brush, fabric and clothespins.  easy peasy.

and a finished boot!


i think i will try wearing these with some rolled up jeans and a silk shirt next week.
i like my flashy "new" boots!

working on a cover for another fold out cot.
gotta have cute cot covers, you know!
will show you soon,
xoxoxo
jennette


For the Birds!


finished another bag and it's for sale!


this one is made from a buttery soft brown leather skirt and some vintage embroidery of a bird and cherries!


here is a process picture of skirt and pocket placement


this is what the lining of the outside pocket looks like


the crochet trim is original to the embroidery.
the bag lining is a vintage calico type print.
and the strap in repurposed from an old army duffel bag!

Smashing Rubbish
Studio & Vintage General Store
15922 Main St
Duvall, WA  98019

Autumn hours:
Wed-Sat noon-6
Sun noon-5
closed Mon & Tue

off to buy more interfacing,
xoxoxo
jennette

Crazy Quilt


these photos will not do justice to this AMAZING quilt i just got!
you must see this in person.
you will drool.
it is for sale.
i knew you'd like that!
hand tatted lace surrounds the entire quilt

this quilt has a ton of animals and creatures on it
check it out


this is the back! 
i just LOVE it!

hope you are having a great weekend,
xoxo
jennette


New Boots- Sorta

altered rain boots!

found these old Helly Hanson rubber boots at a tag sale recently.
loved the orangey brown and yellow.
but the rubber was so vintage that it had started to crack down the back.
can't have cracked rubber y'all!
so i took my trusty heavy duty scissors to them and did away with the top cracked part.

hmmmmmm....what to do with some short rubber hacked up boots?
add fabric trim.
of course!
i had, in my massive stash of fabric, textiles and scraps, some cashmere and silk.
who wouldn't want to pair rubber with the finest of natural fibers?!
my most excellent and awesome new industrial sewing machine was able to help me get the majority of the fabric attached to the rubber.
but because of the shank in the boots foot bed, i was not able to bend it in a way that allowed me to sew entirely around the top cut edge of the boot.
no worries!
fabric glue to the rescue!
i found, also in my massive stash of trims, ribbons and bindings, this perfect green bias tape.

add a little glue, get out your paper clips(!), and get to work!

i love how these turned out!

my "new" luxurious winter rain boots!
j'adore!

what are y'all repurposing, altering, upcycling these days?
do tell!

rearranging Smashing Rubbish World Headquarters for the umpteenth time this week,
it's a good thing!,
xoxox
jennette


Best. Bag. Ever.

Well.  I did it again.  I made another bag/sling/purse/tote bag.
And I am freakin in love with it!
You gotta see this.
Look what it started out as:

Yep.  A rich dark chocolate buttery leather mini skirt!
Apparently a size 6 is enough leather to make this bag.

Used my own version of this pattern, based off of this pattern, but with some changes.  Like for instance, I left out the pleats and did not use fusible fleece interfacing on this leather sling.

This is the vintage fabric I used for the inside pockets.  I LOVE it because it has birds, acorns, fish, pyramids, mushrooms and pears!  It's perfectly odd!

I used this amazing wood grain fabric that I found at the Woven Threads quilt shop in Chelan for the lining.  I LOVE this fabric too.  I am going to buy the rest of the bolt and see if my mama will bring it over with her next time she visits.

Here is one side of the soon to be bag.  Notice the seam down the middle.  That's the side seam of the skirt.  And see the crease/fold across the bottom.  That's the bottom hem pulled open. 
Apparently the people who make leather garments use all manner of binding, edging, hem stuff to make the leather behave and act like they want.  I should have taken a photo of all the deitris that came out of the folds and seams of this skirt.  After taking out its lining and pulling apart the seams, the leather was still strong but thin enough to give my sewing machine no complaints.  That's a good thing!

Here is one side with the vintage army canvas band attached.  I am having a major crush lately on vintage army canvas.  I love the earthy hues.  It comes in varying greens and browns.  It's getting harder to find. 

And I am using it to make love, not war!

I happened to find a sleeping bag cover, at a tag sale three weeks ago, for $3!!!  MAJOR SCORE! 
I am on the hunt and look out for more so if anyone out there has any good resources they care to share, please fill me in!
Its durability, texture and color make me happy!

This is the large pocket attached to the lining.  It has a seam running down the center to make two compartments.  And it turns out my stainless steel water bottle fits perfectly on one side while my sunglasses/lip balm case fits perfectly in the other!

Here's another shot of the finished bag.  One thing I like about this bag is that it doesn't really need a closure piece on it.  It doesn't call for a button, zipper or snap.  Because of the handle design, wide at the bottom and thinner on the shoulder,its not easy for anyone but the wearer to get into.  And it wont gap open dramatically, or least you can fold it over, if you have to take it off out in public.
I say best. bag. ever. because I love it so much for me.  It turned out exactly as I envisioned and I plan to wear the heck out of it!  And too, I have actually had several very kind friends and people say they like it too.  And some of them have even asked me to make one for them to buy.  And that is so flattering and sweet and makes me smile.  Since this is not an open source pattern I need to find a similar one that is so I can make them to sell.  Since I set up an Etsy shop I haven't even had time to make, list, sell or ship a single item yet.  Its coming though.  Coming soon.  I can feel it in my bones!
Me + My Bag = True Love

xox
Jennette


Clary's Bag!

I finally finished our friend Clair's sweet 16 birthday bag!
I used this Amy Butler pattern, for the first time:

The Birdie Sling

Here is a better look at the pink, gray, black and white fabric:
And here:
It's called "the ghastlies," by The Alexander Henry Fabrics Collection 2009
I bought it at Ben Franklin in Redmond many months ago.
When I saw it I knew exactly what to do with it and for whom.  For this sweet girl, for her 16th birthday:


See!  Isn't she so cute!?  Yes, that's August with her.  This is last spring when Kirsten and I took them both to see Evelyn, Evelyn.  These two have been bffs since Clair was 9 months old and Gus was born.  Awwwwww......

So!  The bag!  Well, when I saw this fabric I just instantly thought of Clair and I had been wanting to try an Amy Butler pattern for a while so here we are.  This pattern calls for the use of fusible fleece.  Yes, fusible fleece.  I hadn't heard of it either!  It's just like fusible interfacing, but super thick.  I wasn't too sure at first.  I thought it might make it too puffy, too floofy, too big.  But it turns out, it's just right!  That clever, clever Amy Butler!  How dare I second guess her!

Here is an example of the lining pieces, interior pockets and 3 grid sizes of pink gingham I used.

The tiny grid black and white gingham I used for the band and handle.

Here is the band attached to an exterior piece.

This is how I did the square corner.  I like what this does to the shape of a bag.  I did a very similar corner on the pagoda oil painting bag, just not so rounded.  The pattern told me to fold the sewn corner like this, measure in 1.5 inches from the corner, and measure out 4 inches on each side, then attach all three points with a gently curved line.  I have tons of old tins in my studio that hold everything from crystals to buttons and this one had the perfect gentle curve.  It worked really well.

Here is the corner trimmed down to 1/2 inch seam.
Once you do this to the inside and outside, you join them together, pull the right side out, finish a seam, and your done.


A glimpse of the interior.  The pattern does not call for any closure device.  No zipper, no snap, no button.  For now I will leave it like this.

I hope Clair likes this sling!

I am going to make a few more now that I have the pattern down.  They take a bit of time but you get a great finished bag in a few hours.  Think of all the fabric combinations you could come up with for the band, handle, exterior and interior.  I am going to try some vintage army canvas cloth and leather too.
I'll post more as they are created.  Stay tuned....

Finishing another pair of pants for Jasper,
xo,
Jennette


Vintage Car Pants

Worked on another pair of Oliver+S pants for Jasper this weekend.

We had found this vintage car/transportation material at an estate sale.
Jasper liked it a lot.  But the material was cut in short pieces so I had to make the cars running up and down his legs.  I was able to line up the pattern so the bottom edge sat right on the selvage.  That worked out nicely.

Close-up of material.  We really like the colors.

Here are the finished pants before he tried them on.  I was working on them in stages.  One of those stages was Friday night.  At one point I sewed the waistband on backwards and had to seam-rip it out and begin again.  That's usually when I know its time to take a break!

I used one of his other pair of Oliver+S to get the hem length right.  We make them a tad long and he likes to roll them up sometimes.

All in all, another stunning success with this pattern

We had a brilliant idea as we were finishing these up.  Jasper has been attending Roots and Wings at Wilderness Awareness School (WAS) for the past three years but this year he is at Tracks and Tales.  Jasper goes to his Montessori School on Mon., Tues., Thurs. which leaves Wed. and Fri. for other activities.  WAS's class for 7 year olds is on Thursdays so Jasper can't attend.  But we found Tracks and Tales and he LOVES it!  
In Jasper's first year at WAS he was able to fit into a pair of wool Gap pants I had found on consignment at Booty Land.  They were Awesome pants!  We were frequently asked by other parents where and how to get them.  Nice wool pants are not easy to find for small children!  After his first year, we resorted to snow pants most rainy, wet WAS days since the wool pants no longer fit.
Fast forward to last week when Jasper went to his first day at Tracks and Tales and we were scrambling to locate the snow pants.  We found them but they are finally getting too small as well.  They kept the mud and wetness off him but he looked like he was waiting for a flood!
As I was making this latest pair of Oliver+S pants I had a moment of pure clarity and remembered that the reason I had been collecting umpteen bazillion old wool blankets over the last few years was to be able to felt them, cut them, and make cool recycled wool blanket projects.  Originally I was thinking holiday stockings, dog bed cover, ornaments, etc.  But why not pants?!  Yes!  Pants!!
So I washed and felted a few old blankets on Sunday to prepare.  I am super excited to see if I can make this work!  I think I know a few people who might want some wool pants for their kiddos!  I plan to reinforce the knees with a contrasting wool patch, and maybe even add some rear-end patches too!  Jasper always wears his REI long underwear top and bottom as his first layer so that will help the wool not feel itchy.  As soon as I have a prototype, I will show you.  My only worry is that my machine wont want to sew thru the thick parts.  Maybe its time to take the ancient Singer I have sitting in my garage into the shop to see if she can be resurrected!  The work-horse Singer would definitely get the job done!

Off to test out my new running shoes,
xo
Jennette


1961 Fireball

We bought our 1961 Fireball Travel Trailer back from my brother!

 A couple years ago we got some crazy wild hair up our hiney and decided to sell our sweet little travel trailer to my brother.  Why we did, I am still not sure!  But he got some use out of it after hauling it all the way back to Jackson Hole and then back here to Leavenworth where he lives now.  He is getting ready to be a dad for the first time and is selling everything he doesn't absolutely need.  Lucky us because I had been telling him for a while that I wasn't sure why I ever gave the Fireball up in the first place and that I wanted first dibs on buying it back.  Low and behold a few weeks later he found out he was going to be a dad by next spring and we were on our way to buying our "baby" back!  
We bought this sweet little vintage trailer way back in 2001 or so.  It has served us so well as an extra room for guests!  When we bought it we didn't even have a way to haul it to our house.  No truck, no trailer hitch.  My dad moved it to our house for us.  And that's when I went hog wild with paint and fabric!  Now when I look inside, I ask myself, what was I thinking?!  It looks like a carnival exploded in there!  Every surface is a different color.  I think I just went and bought all the miss matched $1 paint colors from the hardware store and went to town!  Also, I used some really great vintage fabric to recover all the cushions and make curtains, back then.  On this front too, I wonder what the heck I was thinking.  More the merrier, maybe?  Every surface is a different pattern, colorway and design.  Way to busy for my taste now! 
Anyhow, this time around will be a little more civilized!  I am repainting and recovering every surface and hanging new curtains.  This time I will take a cue from the sweet vintage table top pattern and the color of the original tiles and oven, to create a nice, calming, blissful, little vintage travel trailer to call our home away from home.  I bet it still mostly gets used as a guest room but it will be nice to have just perfectly cute when we do get to haul it across state lines, to the beach, or near a river.  I will share some photos below of its current condition and then as I begin to work on it, I will post more of its progress.  Onward Ho!

 
Yellow stove top and oven.  One of my favorite features.  Jasper said, "Yes!  Now we can make scones in the middle of the woods when we are camping!"  You said it son!

The pattern on the table top and counters.  Love me some spirals!

I was so happy to see that the turquoise dish drain was still with it!  The couch slides out to make a double bed and the over head bunk slides out to make a single.  Also, the table breaks down into a bed as well.

Original paperwork in the cabinet.

State of California, Division of Housing!  Did they sell these for people to live in?!

So I have a lot to do!  As if all my sewing, crafting, antique mall space, Etsy set-up, and busy life were not enough already!  Now I've added this little project in the mix!  I cant wait to show you a photo with the banner canopy I made for it a few years ago.  I didn't give that piece to my brother and just found it the other day!  I will have more photos soon and until then, enjoy the rest of your summer!
Happy trails and travels,
Jennette

Studio Fort

There is a fort set up in my studio space.  Jasper has slept here the past two nights.  The first night he fell asleep watching Secret of Roan Inish and the second night he fell asleep watching Whale Rider.  Two of our favorite movies.  The fort has to come down today so I can get some work done.  Lots of sewing needs to happen.  I have 27 new/old patterns I have picked up in the last few weeks of zigzagging across the state.  Love me some vintage patterns.  And I have scored a ton of new/old fabric.  Projects galore coming up, folks.  Lots in the pipe line.  Be on the lookout!

Off to pick our late blueberries and check the bees.  Wish me luck!
xo-Jennette

Ticking


In between loads of laundry, dishes, repacking camping gear, and general frenzy of coming and going, I was able to take a moment to document all my ticking pillows.  Most of the striped ticking was packed away in our camping gear and I had mostly forgotten about how much ticking I have.  
 
Having all this ticking out makes me want to leave it all out.  To drool over.  To smile at. 
Here is the floral ticking below.  
Love some floral ticking!

Now to figure out what to do with all this ticking.  As if there is really anywhere left in my house for it to fit.  I guess I could stack pillows around like I stack books around.  Yep.  That's what I'll do!

Off to water the deck plants before hitting the beach,
xo,
Jennette